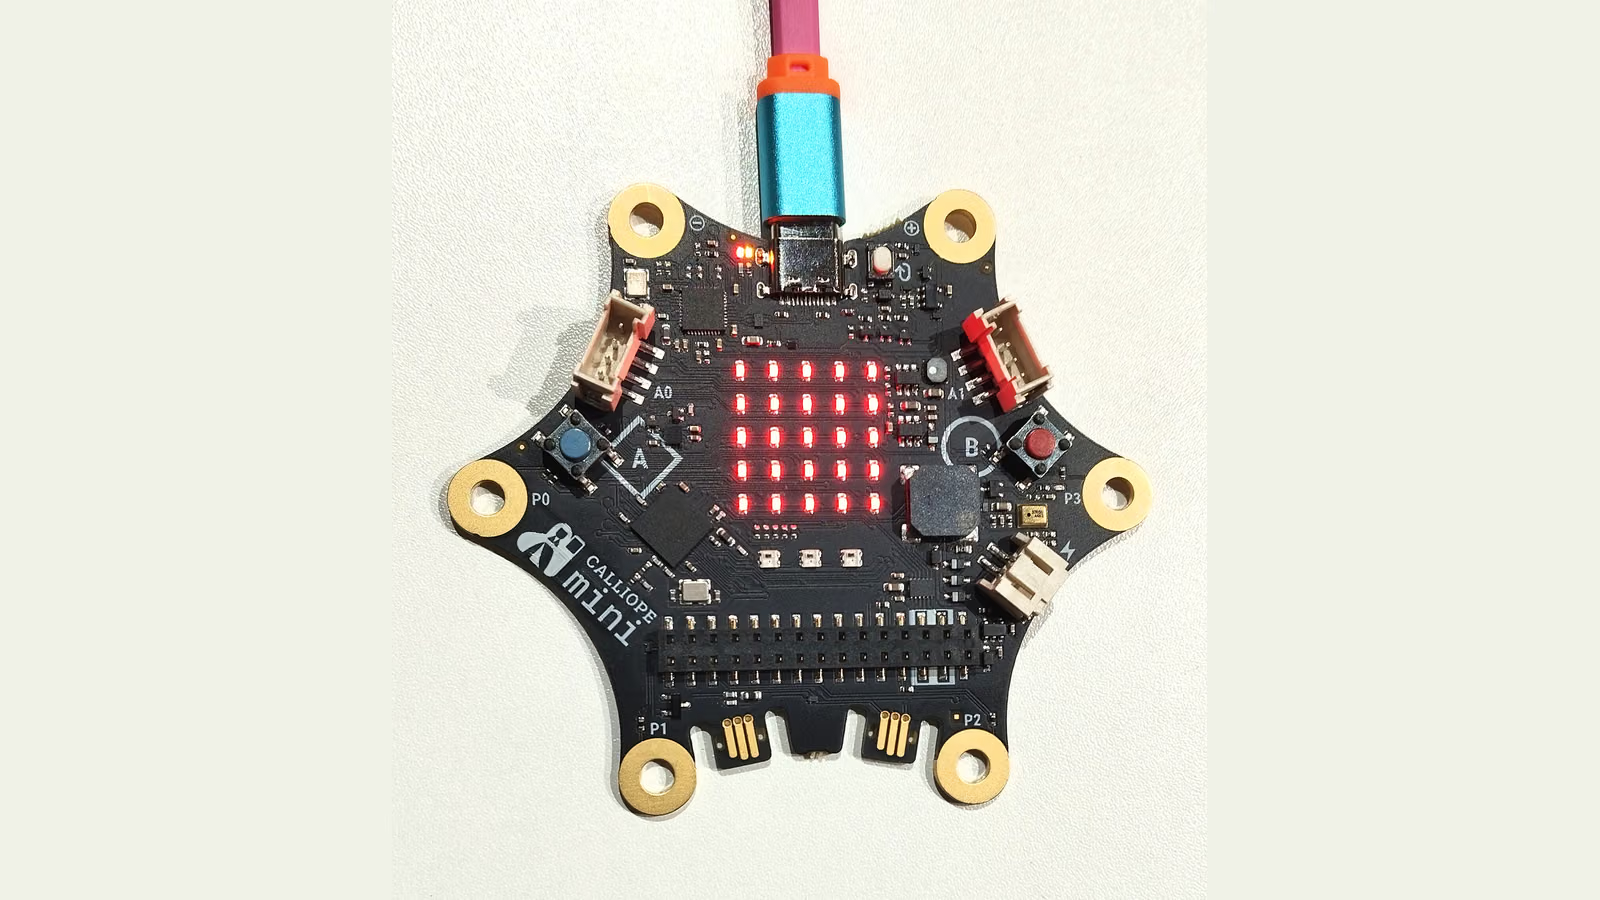
A school computer is not judged at the moment it is unboxed. It is judged forty minutes into a lesson, when a battery pack has gone flat, three children are asking why their compass points the wrong way and a servo has stopped halfway through a movement. The Calliope mini was designed in Germany for primary and lower secondary classrooms, and the third generation keeps the star-shaped board that teachers already recognise.
The Calliope mini 3 adds USB-C, three RGB LEDs, Bluetooth 5.1 and a microphone that can record rather than merely measure loudness. It keeps the 5 × 5 red LED matrix, the two buttons, the speaker and the two Grove sockets. The Servoboard Box turns it into a small robotics kit with servos, fans and a separate battery pack.
The interesting questions are physical. How much current does the board draw in a drawer and on a desk? How bright are the LEDs, and what do they cost in battery life? How far can sensor readings be trusted? And does a child who moves from blocks to MicroPython gain anything beyond a different screen?
What the board actually has
Calliope’s own overview lists the components without naming most chips. The matrix of 25 red LEDs can be addressed individually and also doubles as a light sensor. A combined motion component next to button A provides acceleration, motion and compass data. Temperature comes from the processor itself, and Calliope openly says that reading is not entirely exact.
The mini 3 adds three RGB LEDs, a pin header for motors and extensions, Jacdac-style chainable connectors and USB-C in place of the micro-USB used by the first two generations. Power comes either from USB or from two AAA batteries through the battery socket.
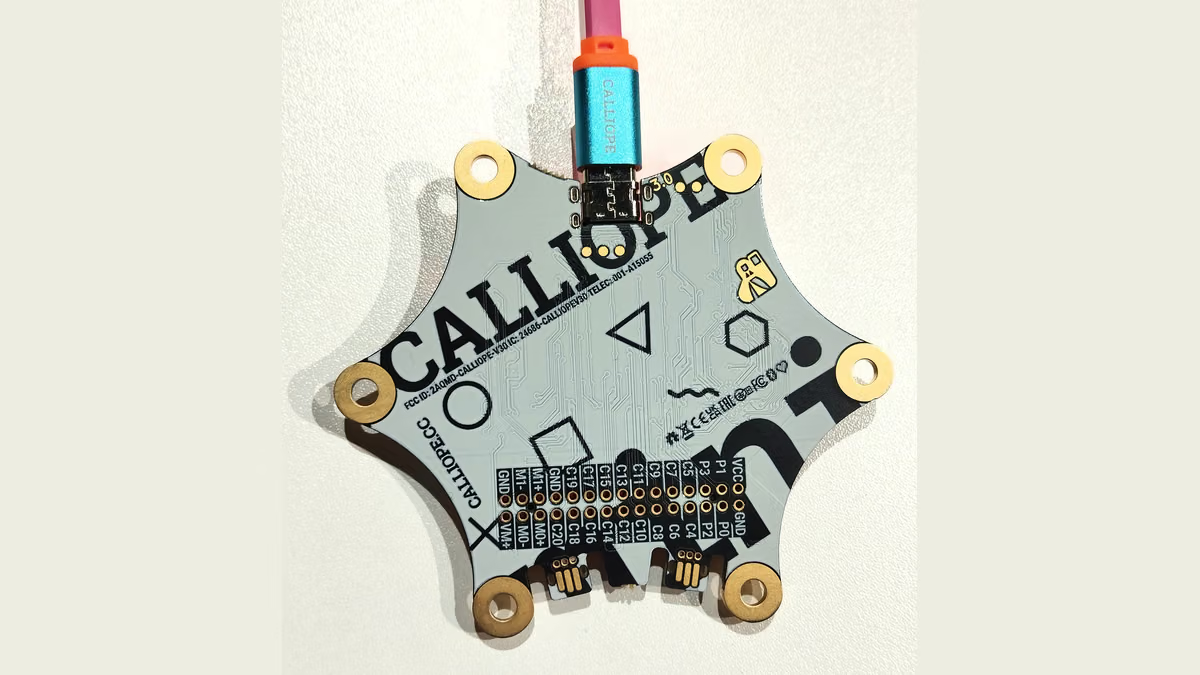
The star shape is not decoration. The large gold pads around the edge accept crocodile clips, which lets a class wire a fruit piano or a moisture sensor without soldering. The pads are labelled, but the labels are small. A printed pin map on the classroom wall saves more time than any software feature.
Current draw is the number teachers never see
Batteries are the hidden budget item of any classroom set. Two AAA cells per board across a class of twenty-eight is fifty-six cells, and a board left running in a drawer over a weekend quietly empties its pack.
Related reading
The test needs a USB power meter for the cable path and a bench supply or inline multimeter for the battery path, because USB measurements include the interface circuitry and can hide what the board draws from cells. Measure four states and keep the program identical across both units.
- Idle after reset, with the default program running and the matrix showing its start-up pattern.
- Sleep or lowest-power state that the editor exposes, with the matrix off.
- Active, matrix full, all 25 LEDs on at full brightness.
- Active, RGB on, the three RGB LEDs on white at full brightness, matrix off.
Report each value as an average over at least sixty seconds, not as a single reading, and note the supply voltage. A board powered from a fresh alkaline pair at 3.2 volts behaves differently from one running on tired cells near 2.2 volts. Repeat the battery path at both ends.
The practical outcome is a rule rather than a number. If sleep current turns out to be comparable to idle current, the class needs a physical habit: disconnect the battery pack at the end of the lesson. Boards with a switch on the battery holder make that easier than pulling a JST plug with small fingers.
Twenty-five LEDs and three RGB LEDs
The LED matrix is the Calliope’s main display and also its most common source of confusion. Children write scrolling text and wonder why it is unreadable in a sunny room. The answer is partly brightness and partly multiplexing: the matrix is scanned row by row, so each LED is on for only part of the time.
Measure brightness with a lux meter or a phone light-meter app held at a fixed distance in a dark room. Compare a single LED with the full matrix. Then compare the editor’s brightness steps, because they are rarely linear in perceived light. A setting at half the scale may look closer to three quarters.
Pair each brightness reading with its current. That is the useful table for a teacher: what a cheerful animation actually costs in battery life. The RGB LEDs deserve the same treatment, colour by colour. White, which drives all three channels, will draw the most. A dim blue status light is far cheaper than a full white pulse.
The RGB LEDs are also a good teaching surface for colour mixing, provided children understand that the camera on a tablet does not see them the way an eye does. Photographs of RGB LEDs often clip to white. Ask pupils to describe the colour, not to photograph it.
Sensor accuracy needs a reference, not a feeling
A classroom experiment fails quietly when the sensor is wrong and nobody knows. The fix is a simple reference for each sensor, with the reference reading written next to the Calliope’s.
Temperature. Put the board and a known thermometer side by side, both out of direct sunlight, and log both every minute for half an hour with the board idle. Then repeat while the matrix runs a busy animation. Because the reading comes from the processor, it should drift upward as the chip works. That drift is the lesson: a sensor measures where it is, not the room.
Light. Compare the matrix-based light level with a lux meter at five points from dark to bright. Expect a coarse, relative scale rather than a calibrated one. That is fine for “is the lamp on” projects and wrong for “how many lux reach the plant”.
Acceleration. Lay the board flat on a level table. Gravity should appear on one axis only, close to 1 g, with the other two near zero. Rotate it onto each edge and repeat. Large offsets mean the class needs a calibration step before tilt games.
Compass. This is the sensor most likely to disappoint. Steel table frames, laptop speakers and the battery pack itself disturb it. Run the calibration routine, then compare headings against a phone compass at the four cardinal points, away from metal. Record the error. If it exceeds what the project can tolerate, teach relative turns instead of absolute north.
Microphone. Use it as a relative loudness meter. A phone sound meter is not calibrated either, so compare patterns rather than claiming decibels.
Related reading
MicroPython and blocks on the same task
The most useful classroom test is not a benchmark. It is the same small project written twice: once in the MakeCode block editor and once in MicroPython. A good task combines input, timing and output, such as a reaction game. The board waits a random time, lights the matrix, and measures how long the player takes to press button A.
Time two things. First, the wall-clock time a pupil needs to get a working version. Second, the board’s own behaviour: how consistently each version measures the reaction. Run a hundred presses against a known stimulus, such as a second board or a microcontroller that presses the button through a transistor after a fixed delay, and compare the spread of reported times.
The usual expectations are worth checking rather than repeating. Block code compiles to native code on the board, so its timing may be at least as tight as MicroPython, which interprets code at run time and can pause for memory housekeeping. If the MicroPython version shows occasional outliers, that is a practical lesson about interpreted languages rather than a defect of the board.
What blocks hide, Python reveals: variables, loops and the order of events. What Python hides, blocks reveal: the shape of the program. For pupils around ten to twelve, starting with blocks and then opening the generated JavaScript or switching to Python for the same task is a natural progression. The mini supports both, which is its strongest educational argument.
The Servoboard Box turns it into a robot
The Servoboard plugs onto the mini’s pin header and drives up to four servos and two DC motors. The box version includes the board, a 4 × AAA battery holder, two 360-degree servos marked R, two 180-degree servos marked B and two fan propellers. Programming uses the MakeCode servo extension for servos and the motor blocks for DC motors.
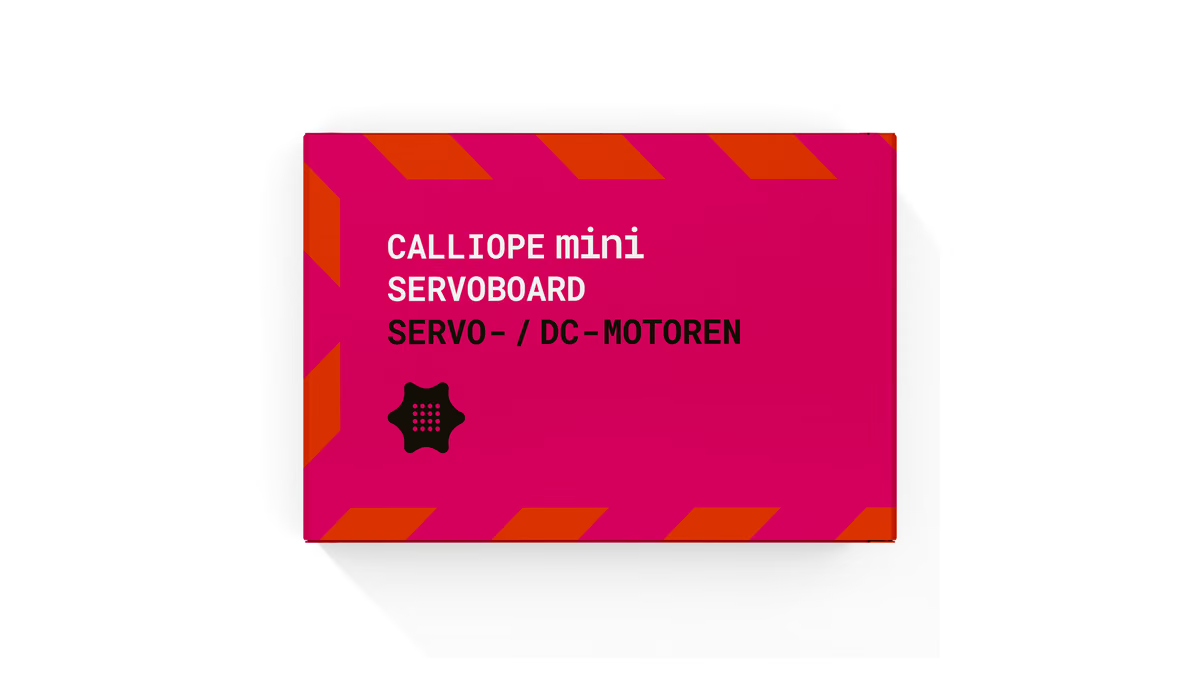
The most important part of the board is a small slide switch. In the VCC position the servos run from the Calliope’s supply; in the VM position they run from the motor battery. Calliope’s own guidance is to switch to VM if a servo turns too slowly. That instruction hides the real issue: servos draw short current peaks when they start and stall, and a weak supply sags.
That sag is measurable. Put an oscilloscope or a fast-sampling USB meter on the supply and command two servos to move together, then four. Watch the voltage dip at the start of each move. If the dip resets the mini or garbles the matrix, the class has found the reason for the switch. Leave it on VM for any project with more than one servo.
Check servo labelling before the lesson. A 360-degree servo does not take an angle; it takes a speed and direction. A child who sends “90 degrees” to an R servo and watches it spin forever has learned something, but probably not what the lesson planned.
Living with a class set
Two units are enough to see the class-set problems. Each board needs a stable name over Bluetooth so pupils do not flash a neighbour’s device. Label boards physically and keep the label matching the radio name.
USB-C is a real improvement. Micro-USB connectors on earlier classroom boards wore out and were easy to insert badly. Still, buy short, sturdy cables rather than reusing phone leads, and keep spares. A data-capable cable matters: a charge-only cable powers the board but leaves the editor unable to flash it, and that looks like a broken board.
Store boards without batteries connected. Store servos in a separate bag so their small horns and screws survive. Check that every battery holder’s switch, if present, is off before the box is closed.
Price and alternatives
The obvious comparison is the BBC micro:bit, which shares much of the software ecosystem, including MakeCode. The micro:bit is cheaper and more widely documented in English. The Calliope adds RGB LEDs, Grove sockets and a board shape designed for crocodile clips, and it has stronger German-language teaching material.
Related reading
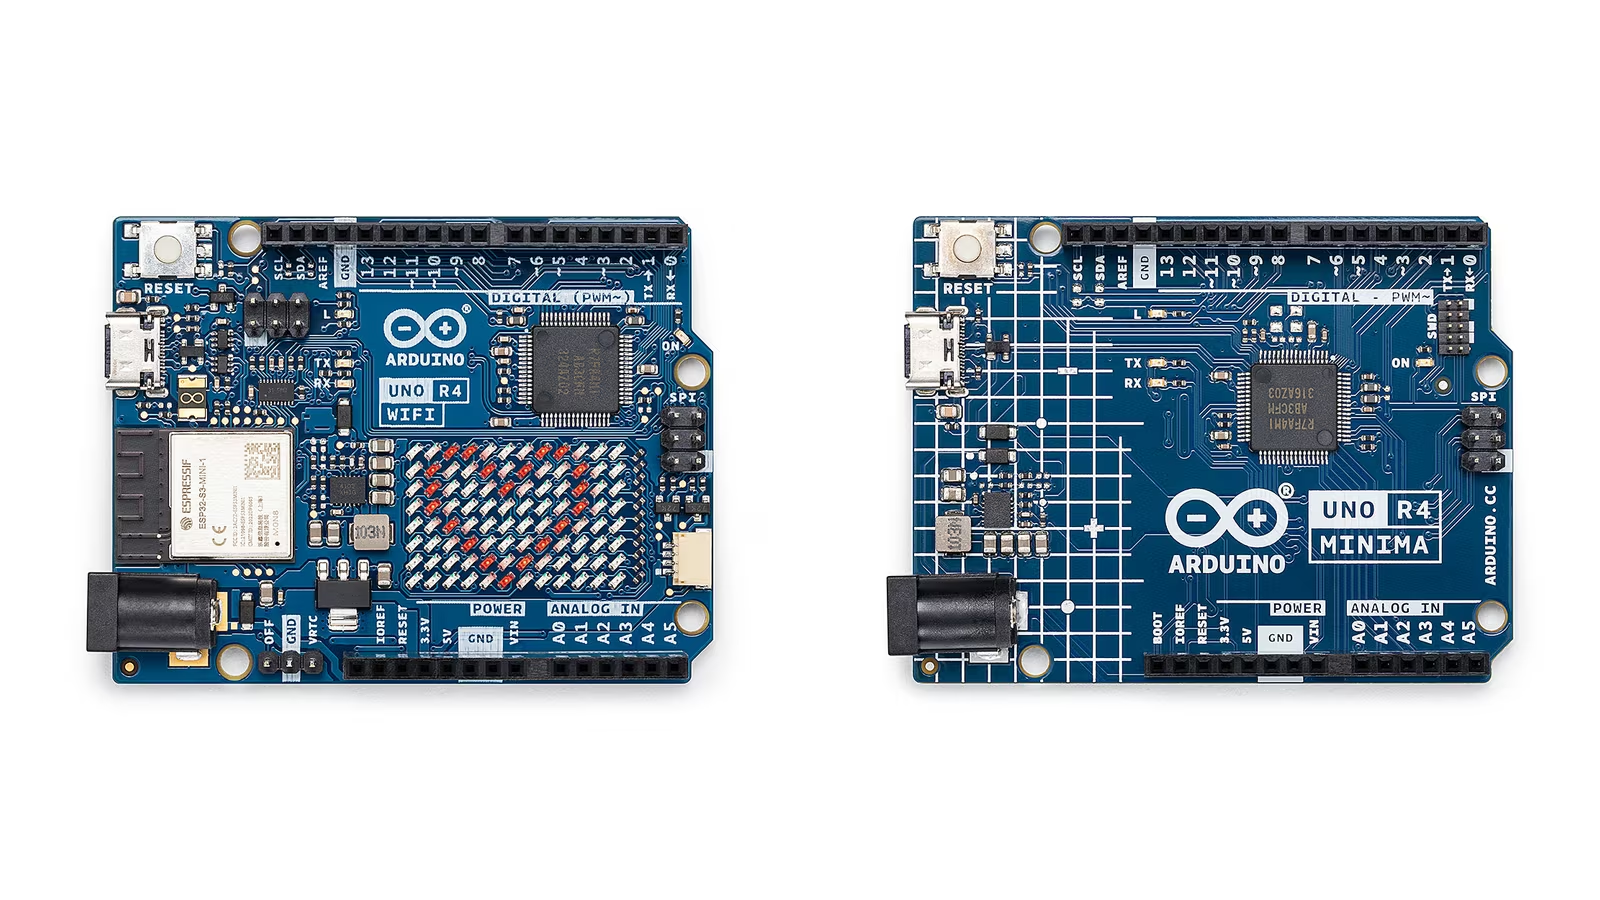
Arduino-style boards offer more pins and more raw control, but they demand wiring and C++ before the first visible result. For lower secondary pupils, the Calliope’s built-in display, buttons and sensors make the first ten minutes far more productive.
Prices vary by country, retailer and bundle. Check whether a class set includes battery packs and cables, and whether the Servoboard Box includes the servos you need or only the board.
Verdict
The Calliope mini 3 is a well-designed classroom computer. The built-in matrix, buttons and sensors give an immediate result, USB-C removes a long-standing weakness and the RGB LEDs add a useful colour lesson. Its sensors are good enough for relative experiments and need a reference before anybody calls them accurate.
I would measure sleep current before deciding the battery routine, keep the compass for projects that tolerate error and introduce MicroPython only after pupils can build the same task in blocks. The Servoboard Box is worth adding for robotics, provided the motor battery and the VM switch become part of every lesson plan.
Buy the Calliope mini 3 for a school that wants a German-designed, curriculum-backed board with a gentle path from blocks to text. Choose a micro:bit if price and English materials matter most, or an Arduino if pupils are ready for wiring and real electronics.
Product images: Calliope mini 3 photographs by MAbW, CC BY-SA 4.0 via Wikimedia Commons; Servoboard box: Calliope.

One email a month: new articles, reviews and the upcoming live webinar + free recording. No spam, unsubscribe anytime.