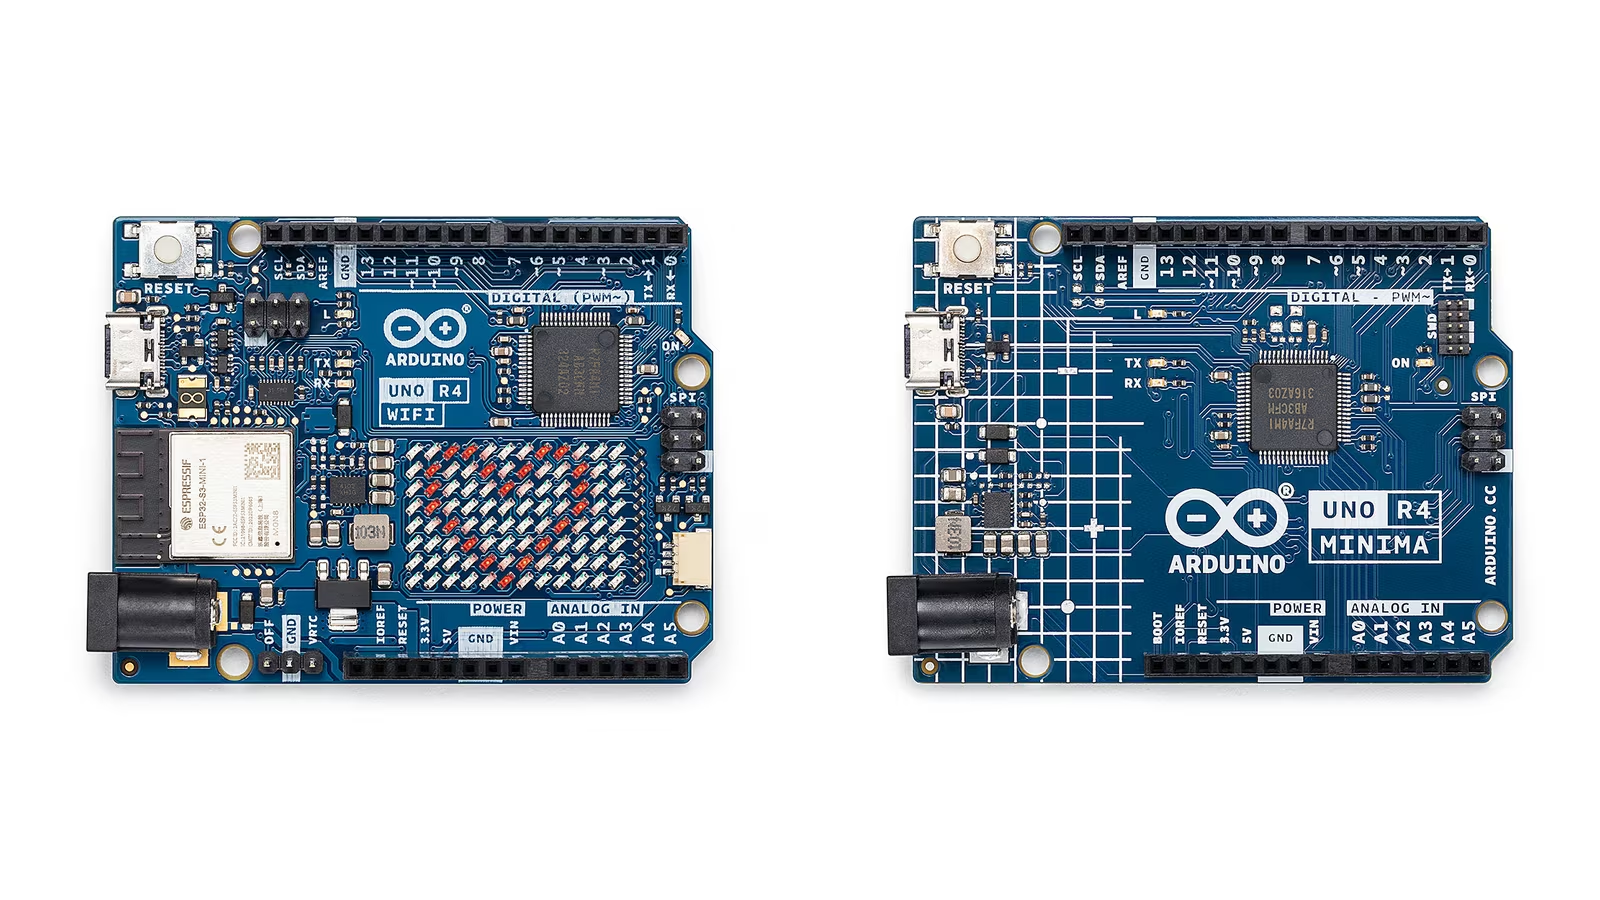
The UNO R4 has a harder job than its specification suggests. It has to be a better board than the UNO R3 without breaking what a beginner will find in a book, a classroom kit or an old forum thread. Arduino kept the shape, the pinout and the 5 V logic, and replaced almost everything else. The result is the board I would now recommend to anyone starting electronics.
Arduino sent an UNO R4 alongside the UNO Q and framed the two as phases of the same journey: learn on the R4, then move to the UNO Q when projects become more advanced. This review follows that order. It covers the UNO R4 family rather than a single model, because the family comes in two versions, the UNO R4 Minima and the UNO R4 WiFi, and the choice between them is the first real decision a buyer makes.
Both use the same microcontroller and carry the same compatibility promise. They differ in connectivity, onboard extras and price, and each is the correct answer for a different person.
A 32-bit UNO that still behaves like an UNO
Arduino’s announcement of the UNO R4 stated that the pinout, voltage and form factor are unchanged from the UNO R3, to preserve hardware and electrical compatibility with existing shields and projects. That sentence is the whole design brief. The board fits the same enclosures, takes the same shields and presents the same 14 digital pins and 6 analog inputs.
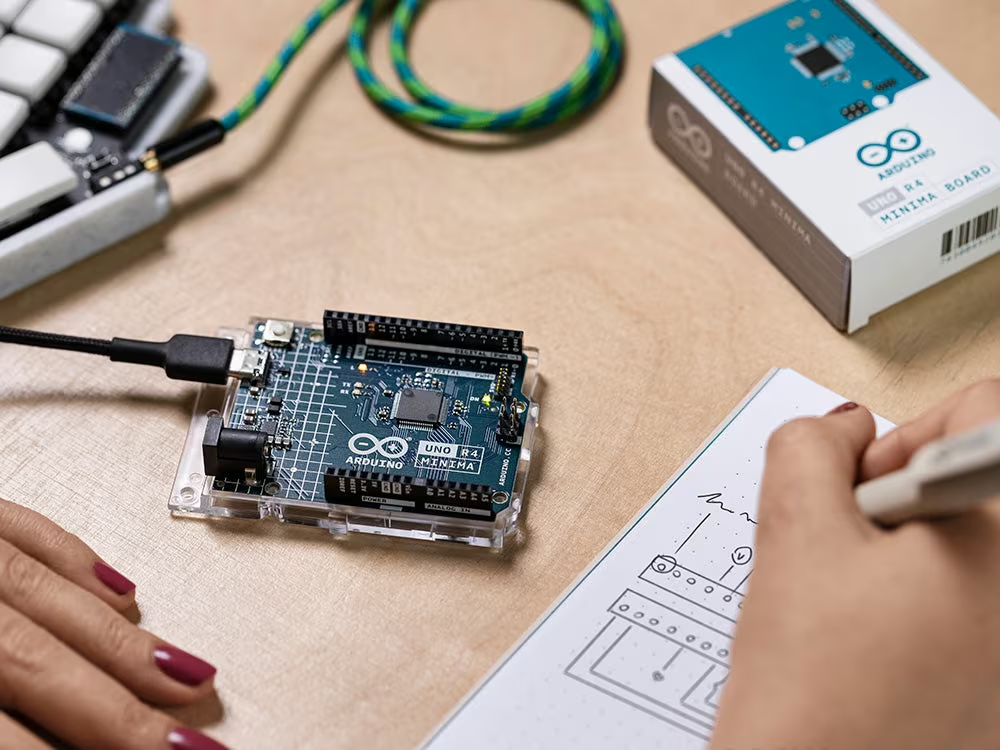
What changed is the processor. Arduino’s comparison of the R3 and R4 sets the numbers side by side. The R3’s 8-bit ATmega328P at 16 MHz, with 32 kB of flash and 2 kB of SRAM, gives way to a 32-bit Renesas RA4M1 at 48 MHz with 256 kB of flash and 32 kB of SRAM. The USB-B connector becomes USB-C, and the input voltage range grows from 7 to 12 V on the R3 to 6 to 24 V on the R4.
The memory change matters more to a beginner than the clock. On a board with 2 kB of SRAM, a sketch can compile cleanly and still misbehave once strings, arrays and library buffers grow, and that is a hard failure to reason about in the first month of learning. Sixteen times more SRAM moves the ceiling far above the projects people build while they learn.
Related reading
The 24 V ceiling is quietly important too. Motor drivers, LED strips and 12 V or 24 V supplies are typical of the projects that follow a first blinking LED, and the UNO R4 Minima store page calls out exactly that use. USB-C also means a current MacBook needs only a USB-C cable rather than an adapter.
What the RA4M1 adds under the headers
Arduino’s UNO R4 Minima datasheet describes the RA4M1 as a 48 MHz Arm Cortex-M4 with a floating point unit, 256 kB of flash, 32 kB of SRAM and 8 kB of data flash used as EEPROM. The hardware FPU makes floating point arithmetic, common in sensor filtering and simple control loops, a normal thing to use rather than something to avoid.
The peripherals are where the family moves beyond the R3. Both boards list a 12-bit DAC on A0 for a genuine analog output, an operational amplifier, a real-time clock and a CAN controller that needs an external transceiver. The UNO R4 Minima page lists analog inputs with up to 14-bit resolution. Both boards support USB HID, so a sketch can present the board to a computer as a keyboard or a mouse. Arduino’s comparison article marks the RTC, DAC, CAN and HID as absent on the R3.
One difference between the two boards is easy to miss. The Minima datasheet places CAN on D4 and D5, while the UNO R4 WiFi user manual assigns D10 to CAN TX and D13 to CAN RX. A transceiver board wired for one version needs its connections changed for the other.
Both datasheets rate the boards for operation from minus 40 to 85 °C, a wider range than a desk or a classroom will ever ask for.
The compatibility fine print
Arduino is candid about the limits of backward compatibility, and a first-time buyer should know them. The comparison article rates the R4’s I/O pins at 8 mA, against 20 mA on the R3. An LED with a suitable series resistor stays within that. A relay coil, a motor or anything that relied on the R3 sourcing more current should go through a transistor or a driver board, which is good practice on any microcontroller.
Software is the second caveat. The same article says that libraries using AVR-specific instructions are not compatible with the R4, and that software compatibility might require some porting work. Arduino maintains a shield compatibility table that makes the point concretely. Its own Motor Shield Rev3, Ethernet Shield Rev2 and 4 Relays Shield are marked compatible, while several third-party shields, including Adafruit’s NeoPixel and 1.8 inch TFT shields and a SparkFun CAN-Bus shield, are marked incompatible.
For someone starting from nothing, these caveats matter little, because there is no drawer of old shields to worry about. For someone upgrading from an R3, the table is the first thing to read and the 8 mA figure is the second.
UNO R4 Minima: the plain board
The UNO R4 Minima is the RA4M1 with the essentials around it. Arduino’s UNO R4 overview describes it as focused on simplicity and suited to prototyping and basic learning, and the 2023 announcement called it the cost-effective option for people who want the new microcontroller without additional features.
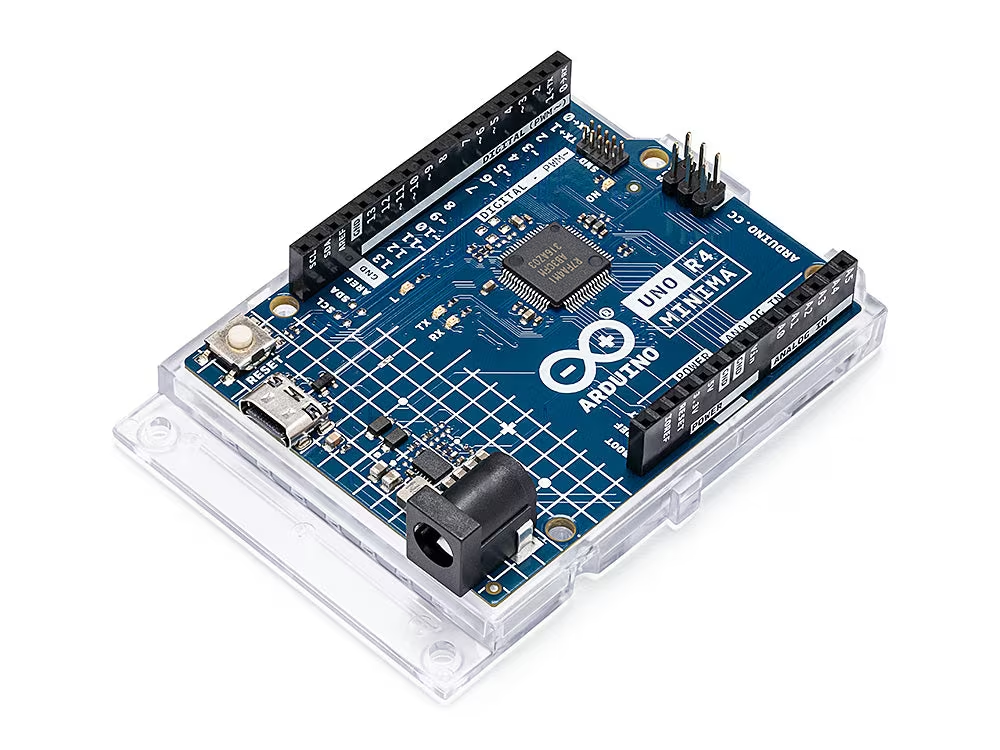
Its store listing also calls out an SWD connector for debugging. With a debug probe, that lets a developer set breakpoints and step through code instead of scattering print statements across a sketch. It is not a beginner feature, yet it makes the Minima a surprisingly serious board for someone who wants to understand what a microcontroller is doing at the register level.
The Minima was listed at $20 on Arduino’s US store and at €22.00 including VAT on the European store when checked. It is the board for a classroom set where every price is multiplied by thirty, for a project that will be built permanently into something, and for anyone whose project has no reason to touch a network.
Related reading
UNO R4 WiFi: a second chip, a display and a connector
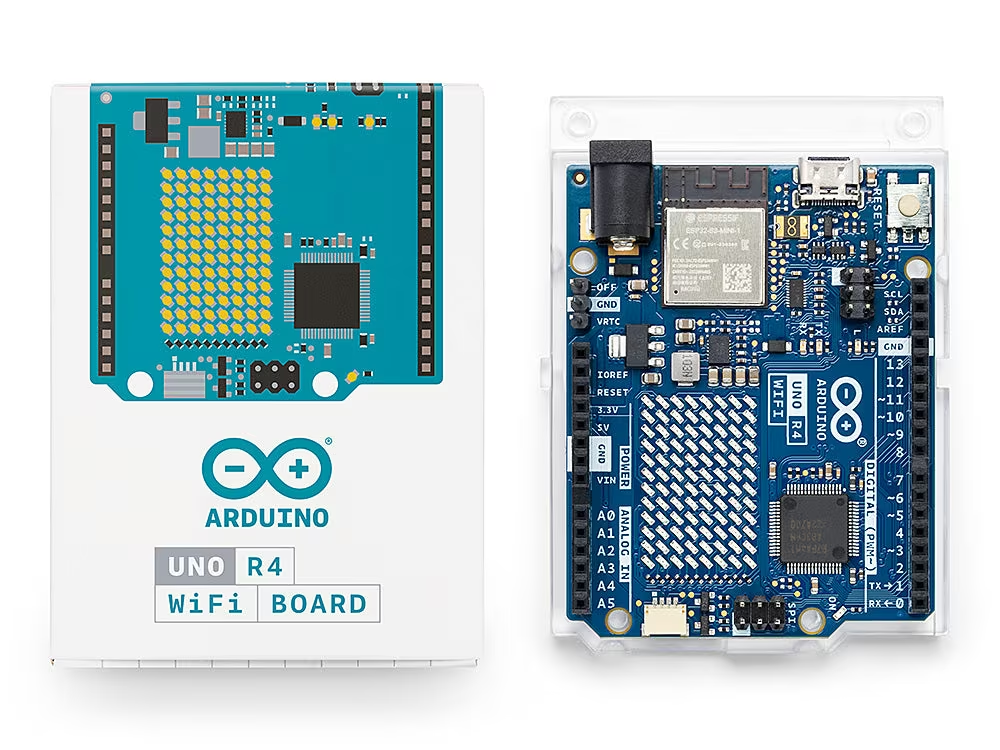
The UNO R4 WiFi adds an Espressif ESP32-S3 module next to the RA4M1. Its datasheet names the module as the ESP32-S3-MINI-1-N8, providing 802.11 b/g/n Wi-Fi 4 on 2.4 GHz and Bluetooth 5. The user manual adds that Wi-Fi and Bluetooth share one trace antenna, so the two cannot be used at the same time. Networking is handled by the WiFiS3 library, which ships with the UNO R4 board package.
The ESP32-S3 has a second job. By default it acts as the serial bridge between the computer’s USB port and the RA4M1. It can be programmed separately through its own header, but the manual warns that doing so overwrites its default firmware and can disrupt communication between the two chips until that firmware is restored. For a beginner, the advice is simple: leave the ESP32-S3 alone and treat it as the board’s network adapter.
The visible addition is a 12 by 8 red LED matrix, driven through the Arduino_LED_Matrix library. It changes early lessons more than its size suggests, because a first sketch can scroll a message or play an animation instead of blinking a single LED. There is also a Qwiic connector, which the manual places on the secondary I2C bus through the Wire1 object and at 3.3 V only. It brings the large ecosystem of solder-free sensor modules within a beginner’s reach.
Two power details serve longer projects. The datasheet lists an OFF pin for controlling the power supply and a VRTC pin that powers only the real-time clock from a battery, and the manual gives its range as 1.6 to 3.6 V.
The most useful feature for learners is the least visible. Arduino’s support article on runtime errors explains that when a sketch hits a runtime fault, the R4 WiFi prints the Cortex-M4 registers and the fault type over serial, together with an addr2line command that maps the fault to a function, file and line. That is a proper crash report on a hobby board, and it turns a silent freeze into something a beginner can look up.
The WiFi was listed at $27.50 on the US store and at €30.50 including VAT in Europe when checked. Arduino’s store listing also marks it as compatible with Arduino Cloud.
Choosing between them
The price gap is small, and the WiFi adds more than a radio. For someone teaching themselves at home, I would buy the WiFi. The LED matrix gives immediate feedback, the Qwiic connector removes the soldering barrier for sensors, the crash reports shorten the worst debugging sessions, and the first connected project is already possible without another purchase.
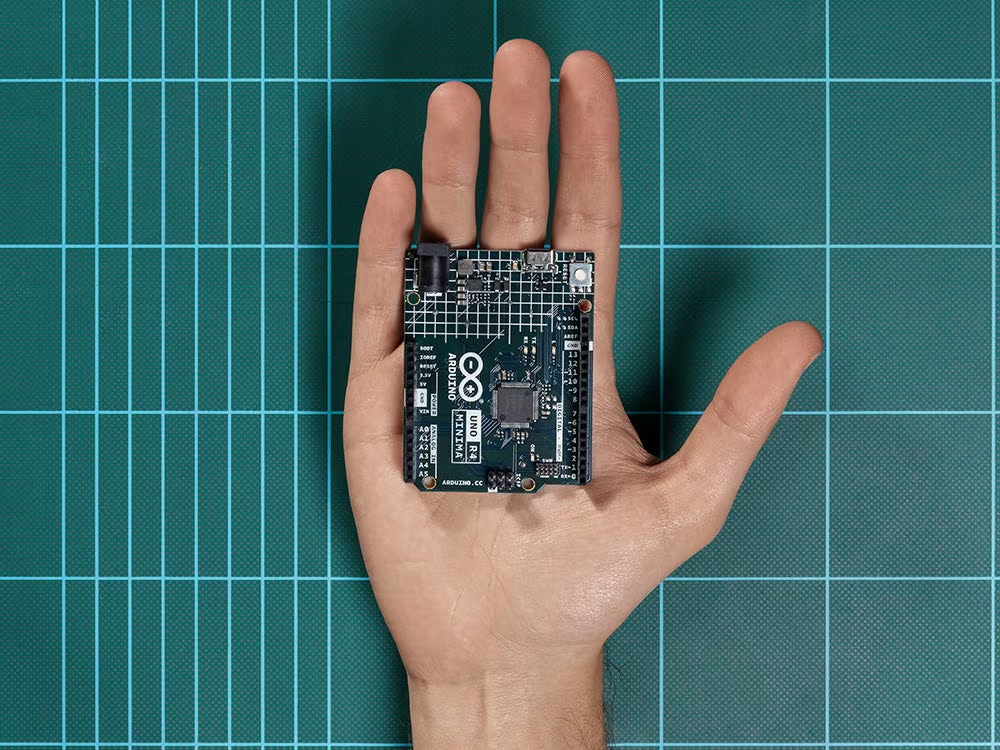
The Minima is the better choice in three situations. A classroom or workshop buying many boards should not pay for radios that will stay unused. A permanent installation that must never join a network is simpler without one. A developer who wants hardware debugging through SWD has a direct path on the Minima.
Two limits of the WiFi version belong in the decision. Its Wi-Fi is 2.4 GHz only, so a network that offers only 5 GHz will not work. And because Wi-Fi and Bluetooth share an antenna, a project that must use both at once belongs on a different board. Neither matters for a first connected thermometer. Both matter for a product.
Where the UNO R4 stops and the UNO Q begins
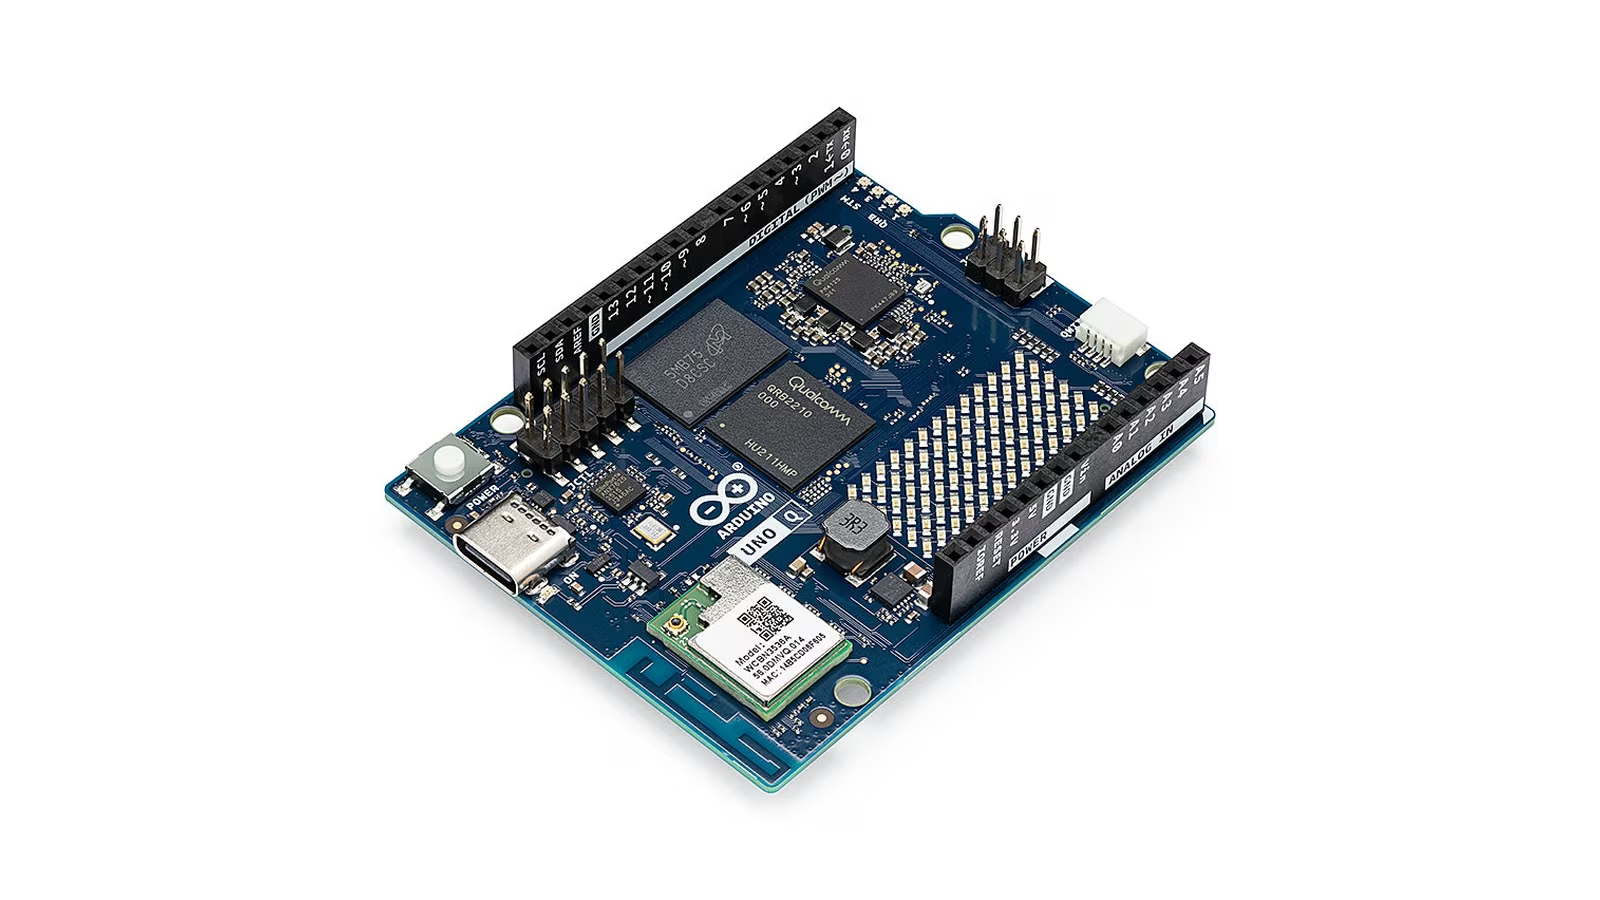
The UNO R4 is a microcontroller board. It runs one program, with no operating system to boot, update or corrupt. That simplicity is exactly why it is the right first board, and Arduino’s own UNO Q FAQ describes the R4 in those terms, as a pure microcontroller board for keeping things simple, efficient and focused on hardware.
Related reading
The step up comes when a project needs a camera, a web interface hosted on the device itself, or a model that processes images or audio. That is where the UNO Q takes over, with a Debian-capable Qualcomm processor alongside its own microcontroller, and I cover it in detail in my Arduino UNO Q review. There is one practical reason to keep an R4 even after moving on: the UNO Q’s headers run at 3.3 V, while the R4 keeps the 5 V logic that older shields and many hobby modules expect.
The two boards also share habits. Sketches, the UNO header layout and the Arduino IDE carry over, so the skills built on the R4 are the skills used on the microcontroller half of the UNO Q. That continuity is the strongest argument for the journey Arduino describes.
Verdict
The Arduino UNO R4 is an excellent first board. Arduino kept what a beginner relies on, the UNO shape, the pinout and 5 V logic, and replaced the parts that limited learners. It did everything I asked of it, and it has earned its place on my desk.
The compatibility promise has fine print, and Arduino is candid about it. It matters little to someone starting from nothing and a lot to someone with a drawer of R3 shields.
Why I recommend it
- Room to learn. The 48 MHz RA4M1 has 256 kB of flash and 32 kB of SRAM, sixteen times the R3’s SRAM, which moves the ceiling far above the projects people build while they learn.
- Modern connections. USB-B becomes USB-C, and the 6 to 24 V input suits motor drivers, LED strips and 12 V or 24 V supplies.
- Peripherals the R3 never had. Both versions add a 12-bit DAC, an op-amp, a real-time clock, CAN and USB HID, plus a hardware FPU.
- A WiFi version that teaches. Besides the radio, it adds a 12 by 8 LED matrix, a Qwiic connector and crash reports that map a fault to a function, file and line.
- SWD on the Minima. With a debug probe, you can set breakpoints instead of scattering print statements.
Why it may not be for you
- Weaker pins. I/O pins are rated at 8 mA against 20 mA on the R3, so anything that relied on more current needs a transistor or a driver board.
- Not every R3 library or shield carries over. AVR-specific libraries need porting, and Arduino’s own table marks shields such as Adafruit’s NeoPixel and a SparkFun CAN-Bus shield as incompatible.
- A limited radio. The WiFi version is 2.4 GHz only, and Wi-Fi and Bluetooth share one antenna, so they cannot run together. Fine for a first connected thermometer, a problem for a product.
- CAN moves between versions. It sits on D4 and D5 on the Minima and on D10 and D13 on the WiFi, so a transceiver wired for one needs rewiring for the other.
Buy the UNO R4 WiFi to learn at home, since $27.50 against $20 is a small gap. Buy the Minima for classrooms, offline builds and SWD debugging. When a project needs a camera, a web interface or a model processing images or audio, the UNO Q is the next board in the same family, and the R4 is still worth keeping for its 5 V logic.
Product images: Arduino.
One email a month: new articles, reviews and the upcoming live webinar + free recording. No spam, unsubscribe anytime.