A KVM over IP earns its place on the worst day of a server’s life. The operating system no longer boots, SSH is gone, and the only way in is the keyboard, the screen and the BIOS. On that day nobody cares about the dashboard design. They care whether the keystroke arrives, whether the picture is current and whether the device still works when the cloud service is unreachable.
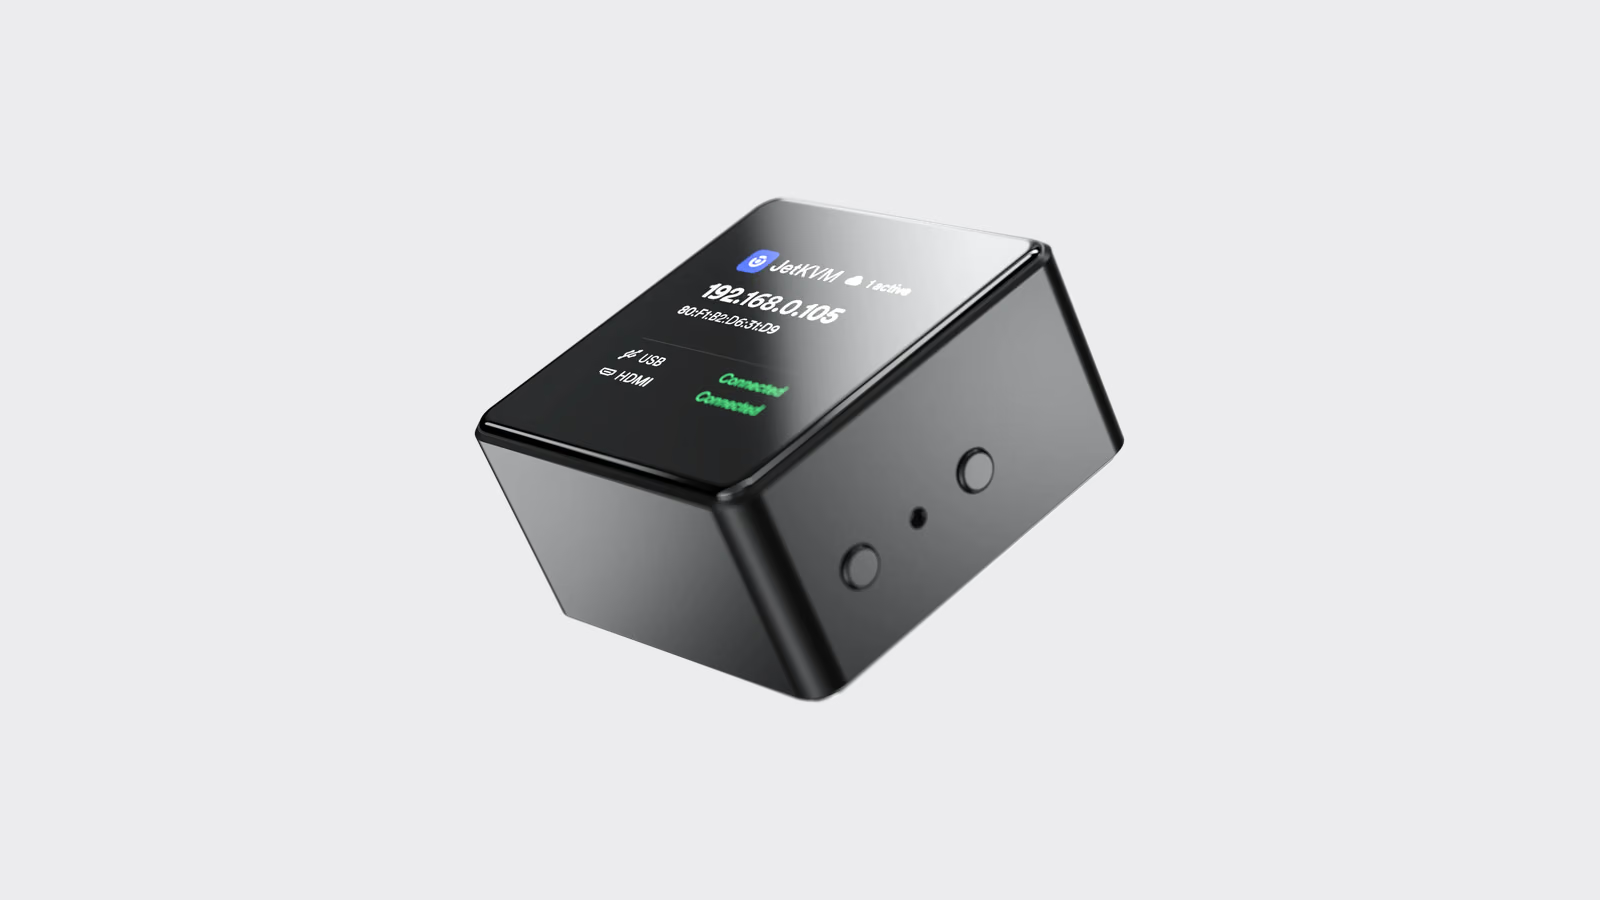
The original JetKVM made that kind of access cheap enough for a homelab. The JetKVM Mini goes further. It replaces the Linux system-on-chip with Espressif’s ESP32-P4X microcontroller, shrinks the enclosure to 42 × 42 × 23 mm and is listed from $39, or $42 for the wireless Mini W, with sales through resellers starting on 26 October 2026.
The unit tested here is an engineering sample with both Ethernet and wireless. Engineering samples can differ from retail units in firmware and sometimes hardware, so every result below carries the firmware version and should be read as a description of this sample.
What the Mini is, on paper
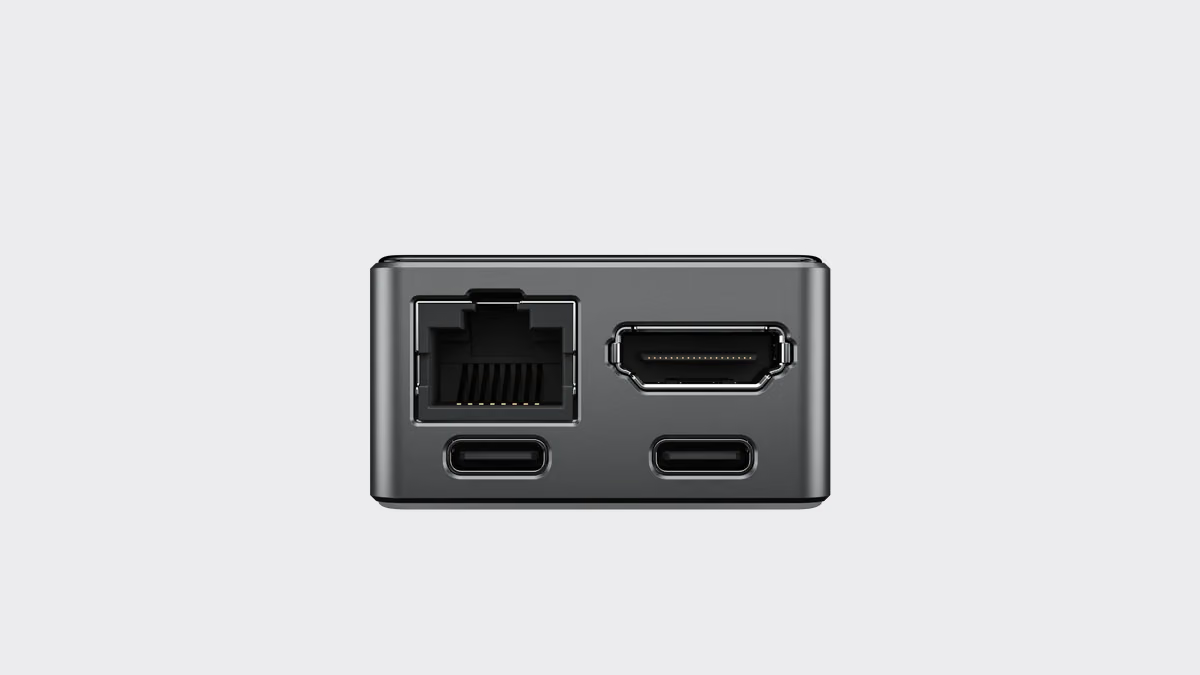
The specifications are modest and specific. A dual-core RISC-V processor at up to 400 MHz, 32 MB of PSRAM and 16 MB of flash. A hardware H.264 encoder. HDMI capture up to 1080p30 or 720p60. A 100 Mbps RJ45 port on the wired model, or dual-band Wi-Fi 6 through an ESP32-C5 on the Mini W. One USB 2.0 high-speed port for keyboard, mouse, virtual media and power, plus a full-speed port for auxiliary power and future expansion. A 240 × 240 status display. A microSD slot for virtual media.
The firmware moves from Linux to FreeRTOS on ESP-IDF, which means a full rewrite. JetKVM says the web interface, protocols and cloud service remain the same, and lists the firmware as open source.
About “up to 4K60”
The phrase “up to 4K” appears in coverage of the Mini, and it needs an exact reading. The Mini’s own HDMI capture is listed at 1080p30 or 720p60. Higher resolutions come from JetKVM OS Services, software that runs on the target computer and captures its screen there. Encoding then happens on the host, not on the Mini.
Related reading
That matters for two reasons. First, host-side capture needs a working operating system with the service installed, which is precisely what a KVM cannot rely on during a failed boot. Second, sources disagree on whether 4K capture is free or part of a paid tier, and none establishes 60 frames per second.
So the test separates the two paths cleanly. Hardware HDMI capture is measured as the KVM path. OS Services capture is measured as a convenience path for a healthy machine. The headline numbers in a KVM review belong to the first.
Glass-to-glass latency needs a camera, not a feeling
Remote desktop latency is easy to describe and hard to measure. The honest method is glass to glass: one high-speed camera sees both the target’s physical monitor and the browser window that shows the JetKVM stream, and the delay is the number of frames between a change on the first screen and the same change on the second.
Use a phone in 240 fps slow motion, which gives a resolution of about 4 ms per frame. Run a full-screen test pattern on the target that flips between black and white, or a large millisecond counter. Put the target monitor and the viewing laptop side by side, at the same distance, both at maximum refresh rate. Record at least a hundred transitions per condition.
Report the median, the 95th percentile and the worst value. As with any interactive device, the long tail decides how it feels. A stream that usually trails by a comfortable amount but occasionally freezes for half a second will make typing in a BIOS menu miserable.
Test these conditions separately and keep everything else constant:
- Wired, local network, browser on the same LAN.
- Wireless, local network, the Mini W radio on 5 GHz.
- Wired, remote through JetKVM Cloud, with the viewer on a mobile hotspot.
- 720p60 and 1080p30 for each, because they trade resolution against motion.
Also measure input latency in the other direction. Film the viewing laptop’s keyboard and the target monitor together, press a key that toggles a visible change, and count frames from the key bottoming out to the change on the target. Keyboard latency through USB emulation is usually small; the video return path dominates.
Bitrate and frame pacing on H.264
A low average bitrate can still look poor if frames arrive unevenly. The browser exposes the WebRTC statistics needed to see this. In Chrome, chrome://webrtc-internals shows received frames per second, bitrate, jitter, dropped frames and decode time for each stream.
Record a two-minute session for each scene type: a static BIOS screen, a desktop with a moving window, and a full-screen video. Note average and peak bitrate, frames received per second and the variance between frame intervals. A stream labelled 1080p30 that delivers 30 frames in uneven bursts feels worse than a steady 25.
The 100 Mbps Ethernet port is not a bottleneck for a 1080p H.264 stream. Wireless is the more interesting case. Repeat the scene set with the Mini W one room away from the access point and again through two walls. The useful result is the distance at which frame pacing degrades, because a KVM is usually installed behind a rack or a desk, not on a shelf in clear view.
USB emulation and virtual media
A KVM is also a USB device. The Mini presents keyboard, mouse and mass storage to the target over its high-speed USB 2.0 port, with the ISO either streamed from the browser or read from a microSD card in the slot.
Measure three things. Copy a large file to the emulated drive from inside a running operating system and note the sustained rate. Boot an installer ISO from the microSD card and time it to the first installer screen. Then boot the same installer streamed from the browser, which depends on the network and the viewer’s machine as much as the Mini.
Related reading
USB 2.0 high speed sets a ceiling of 480 Mbps on paper, and real mass-storage throughput is always lower. The relevant comparison is practical: whether a Linux installer boots in a tolerable time from the card, and whether streaming over Wi-Fi is usable or only a last resort.
Check keyboard layout handling too. A KVM that sends US key codes to a machine set to a Czech or German layout will scramble passwords. Type a test string containing special characters into a BIOS password field and a Linux console, and compare.
BIOS on a machine with no operating system
The fundamental test is a machine with an empty disk. Connect the Mini, power the target, and enter firmware setup through the web interface alone. Change a boot order setting, save, reboot into the virtual media installer, and partition a disk.
Record every step that fails. Some firmware setup screens use unusual resolutions or refresh rates the capture path does not accept, which leaves a black stream exactly when it is needed. Some motherboards ignore a USB keyboard until it has been present at power-on. Note the target model and firmware version with each result, since these behaviours vary between boards.
The Mini has no ATX power control at launch. The original JetKVM uses an RJ11 extension for ATX power, DC power and serial; the Mini’s full-speed USB-C port is intended to replace it later. Until then, a frozen machine needs a smart plug or someone in the room.
Life with remote access blocked
JetKVM Cloud makes remote access easy, but a KVM is infrastructure, and infrastructure should not depend on a vendor service that might be down, rate-limited or discontinued.
Block the Mini’s internet access at the router and test what remains. Local web access on the LAN should keep working. Note whether login, video and virtual media still function, whether the interface shows errors or long timeouts, and whether the device tries repeatedly to reach the cloud. Then restore access and see how quickly cloud sessions return.
For remote access without the vendor service, a VPN to the home network is the usual answer. WireGuard or Tailscale to a router or a small always-on machine, then the Mini’s local address. Test that path explicitly, because it is the one that survives a cloud outage.
Treat the device as privileged. Anyone with access to the KVM has the console of the target. Use a strong password, keep it off the guest network, and keep the firmware current, since JetKVM’s open-source firmware means fixes appear in public.
Side by side with PiKVM
PiKVM is the reference point for self-hosted KVM over IP. It runs a full Linux system on a Raspberry Pi, supports ATX control on its own hardware, exposes extensive configuration and has years of community documentation. It also costs considerably more as a finished device and draws more power.
On the same bench, the comparison should use identical conditions: the same target, the same monitor, the same viewing laptop, the same network switch and the same test pattern. Compare glass-to-glass latency, input latency, ISO boot time and setup time from unboxing to the first BIOS screen.
The expected trade is clear even before the numbers. PiKVM offers depth, ATX control and local-first operation by design. The Mini offers a much smaller device at a fraction of the price, with a simpler interface. The measurements decide whether that price difference comes with a usable experience or merely an acceptable one.
Related reading
Installation details that matter
Power the Mini from the target’s USB port and it shuts down when the target does, which is exactly when you need it. Power it separately through the second USB-C port, from a supply that stays on.
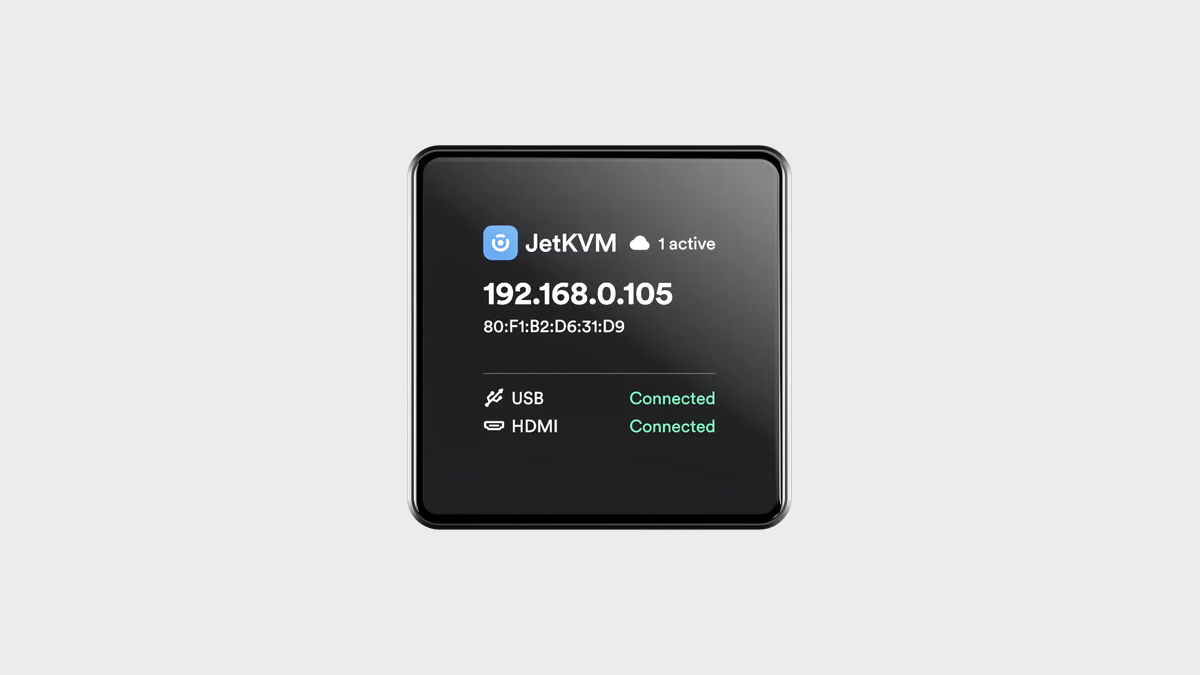
Use a short, good HDMI cable. Capture failures often turn out to be cable problems. Label the Mini with the name of the machine it controls, because a rack with three identical matchboxes becomes confusing quickly. The status display helps by showing the IP address and connection state.
Verdict
The JetKVM Mini makes a credible attempt to bring KVM over IP down to the price of a cable. Its native capture is 1080p30 or 720p60, and the “up to 4K” claim belongs to host-side software, not to the hardware path you rely on when a machine will not boot. Read reviews and product pages with that distinction in mind.
I would judge the Mini by its 95th-percentile glass-to-glass latency over Ethernet, its ability to reach BIOS on a bare machine and its behaviour with cloud access blocked. I would power it independently, pair it with a smart plug until ATX control arrives, and use a VPN rather than relying only on the vendor’s cloud.
Buy the Mini for a homelab or a few remote machines where the alternative is no out-of-band access at all. Choose PiKVM if ATX control, deep configuration or a fully local design is a requirement, and the original JetKVM if you want its ATX extension today.
Product images: JetKVM.
One email a month: new articles, reviews and the upcoming live webinar + free recording. No spam, unsubscribe anytime.