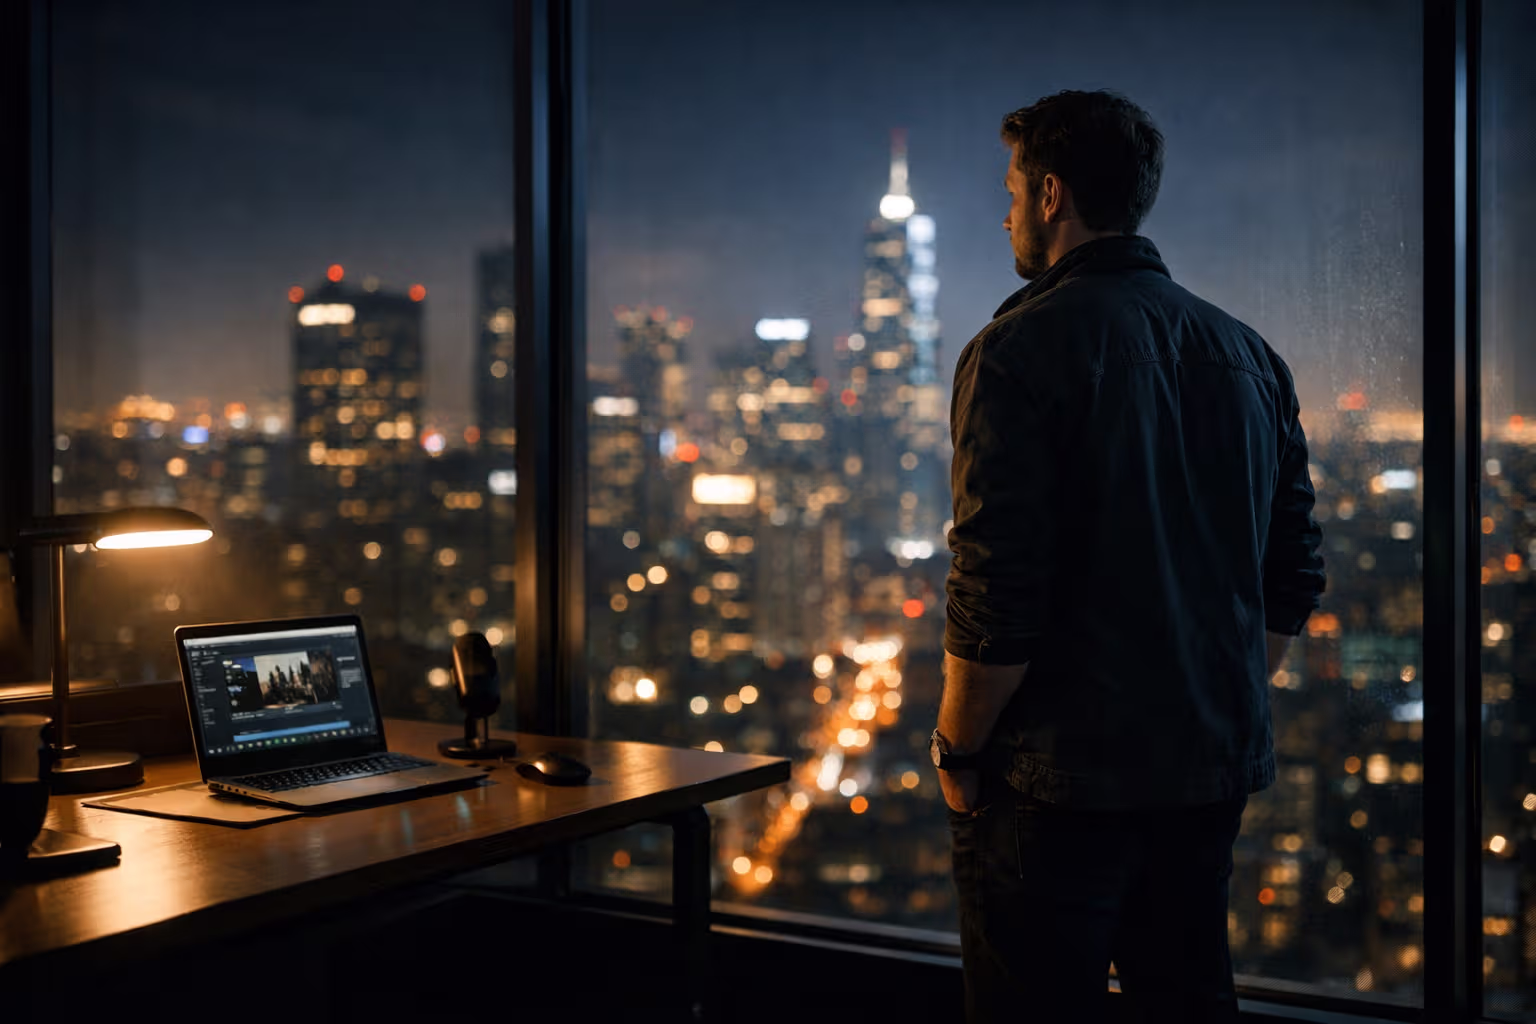
The 'One-Person Studio' Setup: The Minimal Desk That Maximizes Output (Lighting, Audio, Display, Input)
The Modern Work Surface Problem
The modern knowledge worker’s desk serves multiple functions that previous generations would have separated into distinct spaces. A single surface must handle focused writing, video calls, content creation, collaboration, and occasionally a place for lunch. Each function suggests equipment. The equipment accumulates. The desk becomes a landscape of devices, cables, and compromises.
I’ve watched my own desk evolve through this pattern. The webcam for calls. The ring light someone recommended. The microphone because laptop audio sounded bad. The monitor arm because the desk felt cramped. Each addition solved a problem while creating new problems: cable management, visual clutter, the cognitive load of too many options.
The one-person studio concept inverts this accumulation logic. Instead of adding equipment for each need, it asks: what’s the minimum setup that handles all needs adequately? Not optimally for each use case—adequate across all of them. The constraint forces clarity about what actually matters.
This isn’t about spending less money, though that often happens. It’s about reducing complexity to increase actual output. Every piece of equipment demands attention: positioning, configuration, maintenance, troubleshooting. Less equipment means less attention to equipment. More attention remains for work.

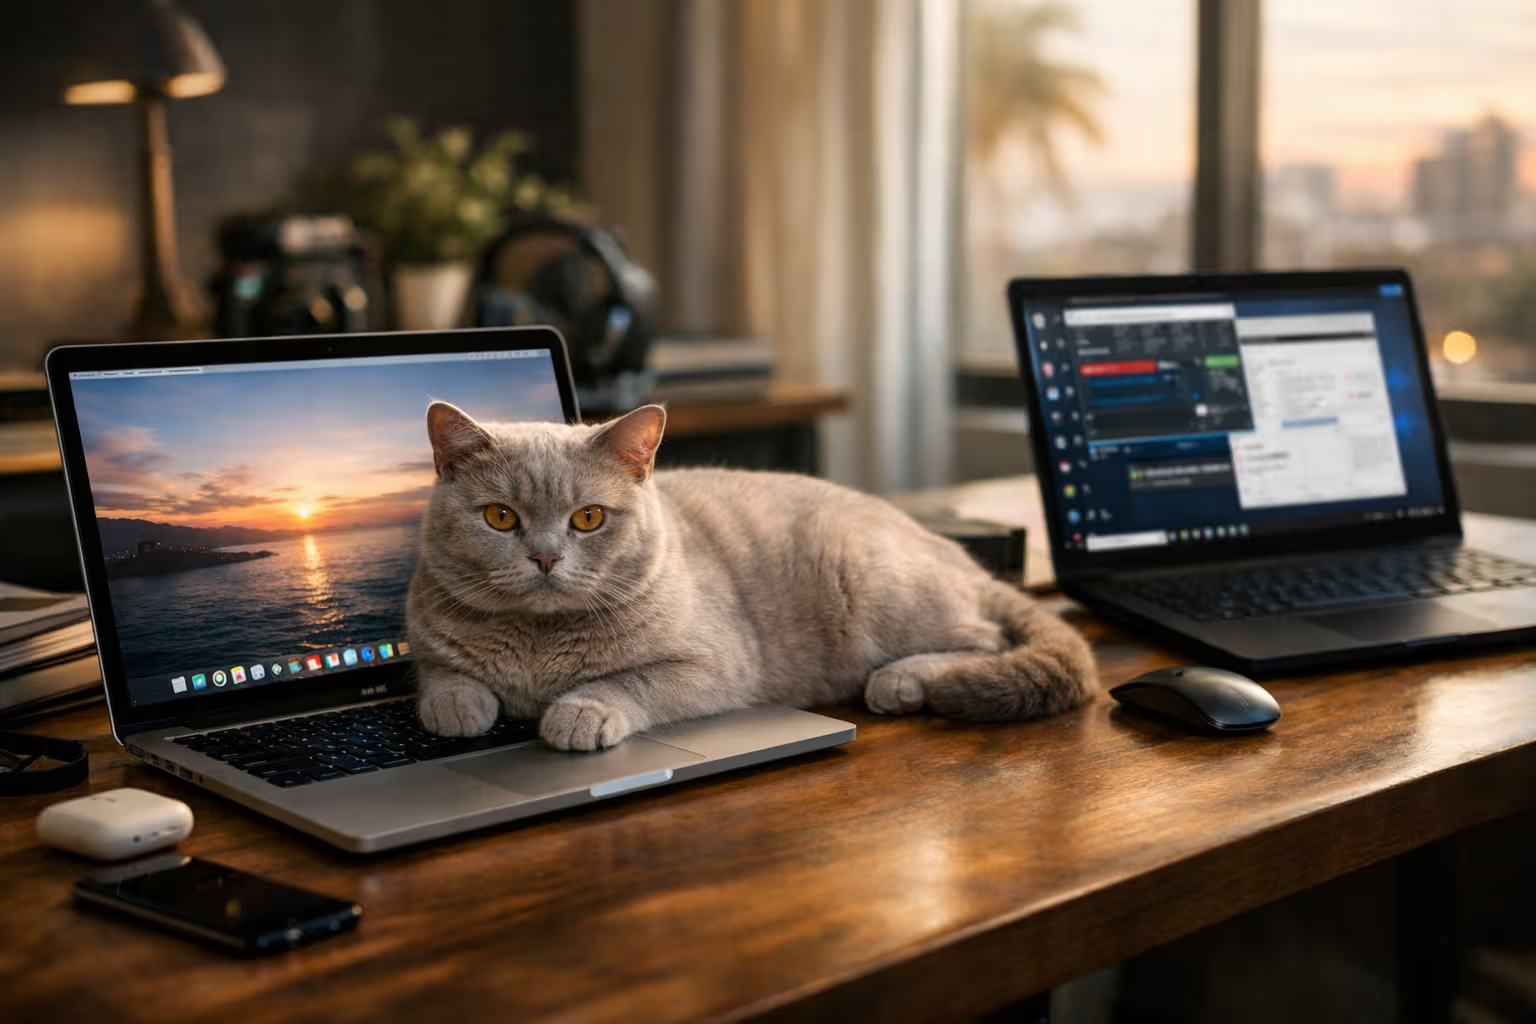
My cat Pixel has perfected the minimal workspace. Her operational requirements: a warm surface and proximity to humans. No additional equipment. No configuration. Maximum output of sleeping and occasional affection. Humans can’t quite achieve this simplicity, but we can move in that direction.
This article presents a framework for building a one-person studio that handles professional video presence, content creation capability, and daily work without the complexity that typically accompanies these functions.
How We Evaluated
The one-person studio framework emerged from evaluating equipment across multiple dimensions simultaneously.
Multi-use functionality: Does this equipment serve multiple purposes, or is it single-function? Multi-use items justify desk space better than dedicated devices.
Quality floor: What’s the minimum quality level that doesn’t actively hurt output? Professional broadcast equipment isn’t necessary; actively bad equipment creates problems. The threshold between acceptable and problematic is the relevant line.
Setup and maintenance burden: How much ongoing attention does this equipment require? Equipment that demands constant adjustment or troubleshooting consumes time that should go toward actual work.
Integration simplicity: Does this equipment work easily with other components, or does it require adapters, software, and workarounds? Simple integration reduces complexity cascades.
Desk real estate: How much physical and visual space does this equipment occupy? The desk has finite surface area. Every item should justify its footprint.

The evaluation framework prioritizes adequacy over excellence. The goal isn’t the best possible setup for any single function. It’s the simplest setup that handles all necessary functions without creating friction or embarrassment.
Lighting: The Most Overlooked Fundamental
Lighting affects everything visible on camera. Bad lighting makes expensive cameras look cheap. Good lighting makes average cameras look professional. Yet lighting is typically the last consideration in workspace setup.
The Problem with Natural Light
Natural light is free and often beautiful. It’s also uncontrollable and inconsistent. Morning light differs from afternoon light. Cloudy days differ from sunny days. Seasonal changes shift everything.

For consistent video presence—the kind that looks professional whether you’re calling at 9 AM or 4 PM—natural light is unreliable. You can’t schedule calls around optimal lighting conditions. The workspace needs to produce consistent results regardless of what’s happening outside.
This doesn’t mean blocking natural light entirely. It means having controlled lighting that works independent of natural conditions. When natural light helps, great. When it doesn’t, the controlled setup handles it.
The Key Light Principle
Professional lighting uses multiple sources with specific purposes. For a one-person studio, this complexity is unnecessary. A single well-positioned key light solves most problems.

The key light should be:
- Large and diffused (soft shadows, not harsh)
- Positioned slightly above eye level
- Placed at a 30-45 degree angle to your face
- Bright enough to be the dominant light source
- Color-balanced (daylight balance, around 5600K)
This single light, properly positioned, produces professional-looking video without complexity. Ring lights work for this purpose but create distinctive circular catchlights in eyes that some find artificial. A simple LED panel with diffusion provides more natural results.
What You Don’t Need
You don’t need: fill lights, hair lights, background lights, RGB accent lighting, or elaborate three-point lighting setups. These have purposes in professional production. For video calls and basic content creation, they add complexity without proportional benefit.
The single key light approach handles 90% of video lighting needs. The remaining 10% involves situations where additional lighting genuinely helps—but those situations are rare enough that permanent desk equipment for them isn’t justified.
Practical Implementation
A desk-mounted LED panel with diffusion costs between $50-150 and provides professional-quality lighting. Position it at the edge of your desk or on a small stand beside your monitor. Angle it toward your face at roughly 45 degrees horizontal and slightly downward vertical.
Test by looking at yourself in a video call. Shadows should be soft and natural. Your face should be evenly lit without harsh contrast. Adjust position until this is achieved, then stop adjusting. The lighting is done.

Audio: The Invisible Quality Factor
Audio quality affects perceived professionalism more than video quality. People tolerate mediocre video. They struggle with bad audio. Yet audio receives less attention than visual elements in most setups.
The Laptop Audio Problem
Built-in laptop microphones capture you from distance, in a reflective environment, along with every ambient sound in the room. They’re designed for convenience, not quality. For professional use, they’re inadequate.

This doesn’t mean you need broadcast equipment. It means you need something better than laptop default. The bar is surprisingly low—modest improvements produce significant quality gains.
The USB Microphone Sweet Spot
For a one-person studio, a USB microphone in the $50-150 range handles everything necessary. Higher-end XLR setups provide marginally better quality at significantly higher complexity and cost.
The microphone should be:
- USB connected (no audio interface required)
- Cardioid pattern (rejects room sound)
- Positioned close to your mouth (6-12 inches)
- Mounted securely (no handling noise)

Condenser microphones provide better audio quality than dynamic microphones in quiet environments. Dynamic microphones reject room noise better. For typical home offices, condenser usually works fine. For noisy environments, dynamic might be necessary.
Position Matters More Than Price
A $50 microphone positioned correctly sounds better than a $200 microphone positioned poorly. The critical factors:
Distance: Closer is better. The microphone should be within a foot of your mouth. This increases voice volume relative to room noise.
Angle: Slightly off-axis reduces plosives (harsh sounds from P and B). Aim the microphone at your chin rather than directly at your mouth.
Stability: Any movement creates noise. The microphone mount must be stable. Shock mounts help but aren’t essential for desk-mounted microphones that won’t be touched during use.
What You Don’t Need
You don’t need: XLR microphones with audio interfaces, multiple microphones, elaborate boom arms, acoustic treatment panels, or professional broadcast equipment.
The goal is clear, professional-sounding audio. A well-positioned USB microphone achieves this. Additional equipment provides marginal improvements at significant complexity cost.

Practical Implementation
A USB microphone on a simple desk stand provides professional audio for video calls and basic content creation. Position it close to you, slightly off-axis. Test in a video call—your voice should be clear and dominant, room noise should be minimal.
If the microphone creates a visual distraction in video, consider a small boom arm that positions the microphone just outside frame. This adds some complexity but keeps the microphone optimally positioned while staying out of camera view.
Display: Your Primary Work Interface
The display receives more attention than other components because it’s constantly visible. But display optimization for a one-person studio involves different priorities than pure productivity optimization.

The Resolution Reality
For content creation and video calls, display resolution matters less than for detailed visual work. A 1080p display is adequate for most one-person studio purposes. 4K provides modest improvements in text clarity but isn’t essential.
What matters more than resolution: size, position, and panel quality. A well-positioned 27-inch 1080p display serves better than a poorly positioned 32-inch 4K display.
The Webcam Integration Challenge
Most external webcams mount on top of monitors. This positions the camera above your eye line, creating a looking-down-at-you angle that reads as slightly superior or distant on video.
The ideal camera position is at eye level. Options for achieving this:
Lower the monitor: If your monitor can sit lower, the mounted webcam approaches eye level.
Separate webcam mount: Position the webcam independently at eye level, typically just below the monitor.
Laptop camera: If using a laptop as your camera, position the laptop screen at eye level.
The one-person studio should optimize webcam position alongside display position. The monitor placement that works best for daily work might not work best for video presence.
Single Monitor Simplicity
Multiple monitors increase productivity for certain workflows. They also increase cable complexity, desk footprint, and visual clutter. For a minimal one-person studio, a single monitor often provides better total outcomes than dual monitors.
The constraint forces decisions about what’s visible during work. Instead of spreading across screens, you focus on what matters. The simplicity has value beyond just desk space.
Practical Implementation
A 27-inch display at roughly arm’s length provides adequate workspace without overwhelming desk space. Position it so the top of the screen is at or slightly below eye level. Mount your webcam at or just below eye level, adjusting monitor position if necessary.
graph TD
    A[Display Setup] --> B{Primary Use?}
    B -->|Video Calls Heavy| C[Optimize for Webcam Position]
    B -->|Productivity Heavy| D[Optimize for Ergonomics]
    B -->|Balanced| E[Find Compromise Position]
    C --> F[Eye-Level Camera Priority]
    D --> G[Top of Screen at Eye Level]
    E --> H[Split the Difference]
    F --> I[May Need Monitor Lower]
    G --> J[Camera Above Eye Line]
    H --> K[Acceptable for Both Uses]
Input: The Human Interface
Keyboard and mouse are the most personal components of any workspace. Preferences vary enormously. But some principles apply regardless of preference.
The Wireless Simplification
Wired peripherals provide marginally more reliable connections. Wireless peripherals eliminate cable clutter and provide positioning flexibility. For a minimal studio focused on reducing complexity, wireless usually wins.
Modern wireless keyboards and mice have effectively eliminated the latency and reliability issues that once made wired preferable. Battery life typically extends to weeks or months. The simplification benefit outweighs the minimal downsides.

Keyboard Considerations
The keyboard should:
- Be reliable and comfortable for extended use
- Match your typing preferences (size, layout, key feel)
- Not create distracting noise for video calls
- Integrate cleanly with your desk layout
Beyond these basics, keyboard choice is personal. Mechanical keyboards, membrane keyboards, split keyboards, compact keyboards—all can serve the one-person studio well if they meet the basic criteria.

Mouse or Trackpad
Some people work better with mice. Others prefer trackpads. The one-person studio doesn’t mandate either. Choose based on your actual preference and comfort over extended use.
Ergonomic considerations matter more than device type. If your wrist hurts after long work sessions, address that—whether through different device, different position, or different technique.
What You Don’t Need
You don’t need: specialized gaming peripherals, macro keyboards, multiple input devices, or elaborate ergonomic setups unless you have specific needs they address.

The input devices that came with your computer or that you’ve been using comfortably are probably fine. Upgrading input devices for a one-person studio is rarely necessary unless existing devices create problems.
Integration: Making It Work Together
Individual components matter less than how they work together. A minimal setup with good integration outperforms an elaborate setup with integration friction.
Cable Management
Every cable creates visual clutter and potential connection issues. The minimal studio should minimize cables:
- Wireless keyboard and mouse eliminate two cables
- USB hub consolidates multiple connections into one
- Power strip below desk keeps power cables invisible
- Cable channels or clips route remaining cables cleanly

This isn’t just aesthetics. Clean cable management reduces troubleshooting complexity. When something stops working, fewer cables mean faster diagnosis.
Software Integration
The hardware serves software purposes. The integration should be invisible during use:
- Microphone should appear automatically in video call software
- Webcam should work without driver installation or configuration
- Display should support your operating system without issues
- Input devices should connect reliably without pairing problems

Each integration friction point consumes attention during use. The minimal studio should require zero equipment attention during actual work.
The Setup Test
Before considering the studio complete, test all components together in realistic use:
- Start a video call. Does audio and video work immediately?
- Check the video feed. Is lighting consistent and professional?
- Work for an hour. Does the setup remain comfortable?
- Try multiple applications. Do components work across all of them?
Problems revealed in testing should be solved before adding any additional equipment. Adding equipment to fix integration problems usually creates new problems.

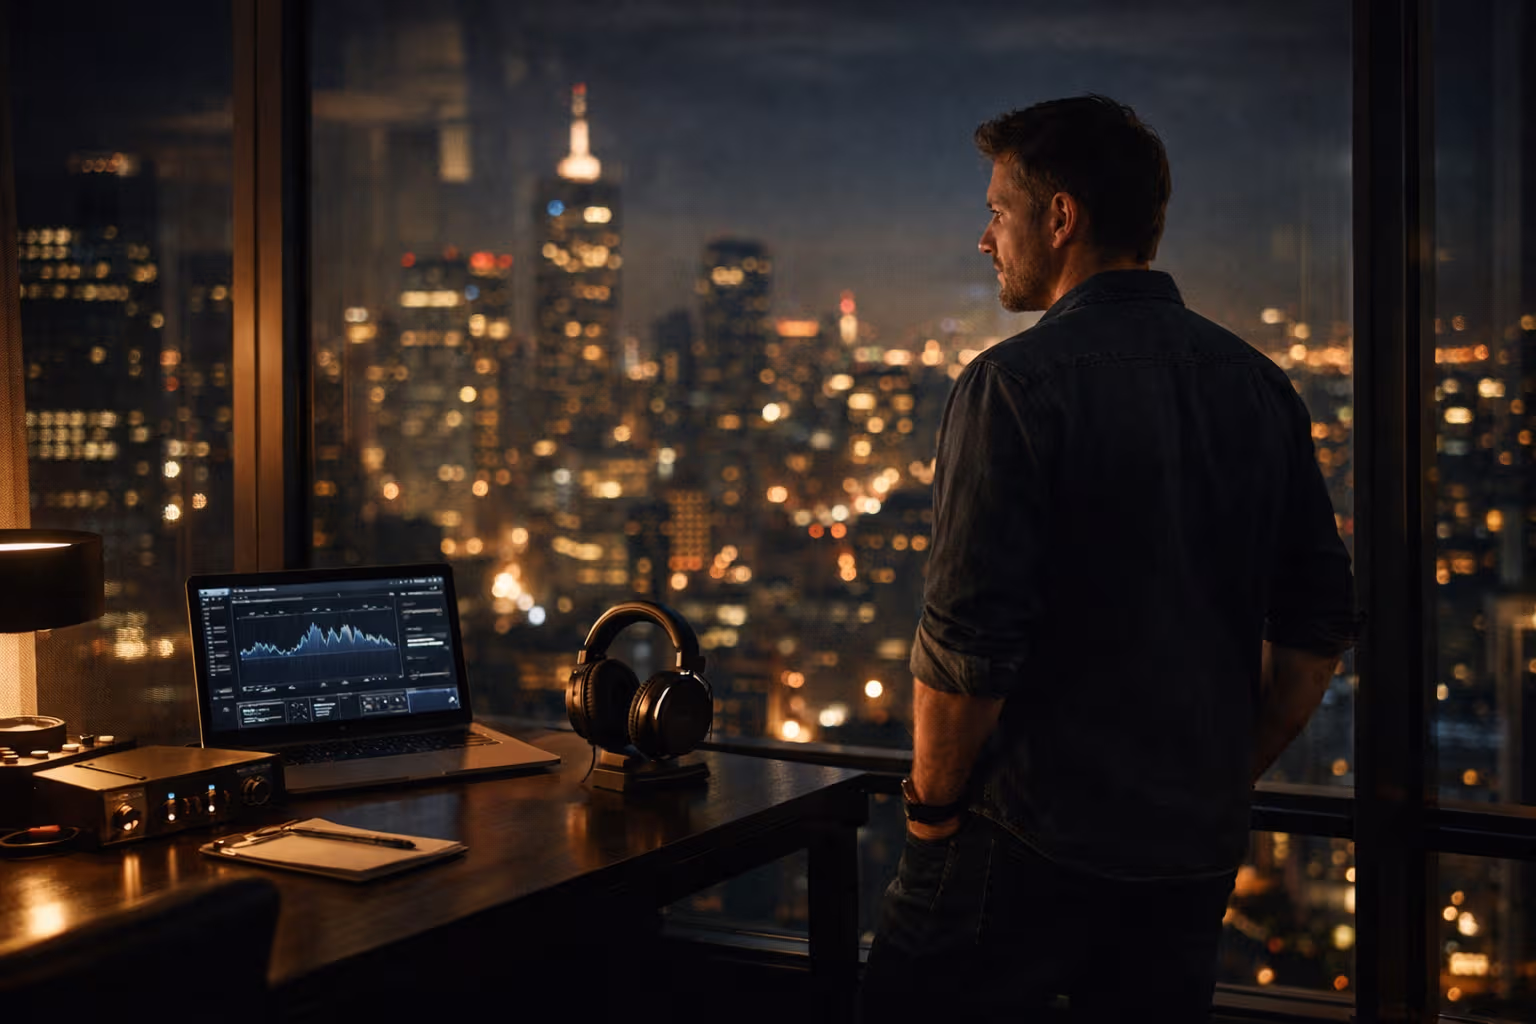
The Complete Minimal Studio
Pulling everything together, the one-person studio consists of:
Lighting: One LED panel with diffusion, positioned at 45 degrees to your face
Audio: One USB microphone, positioned close and slightly off-axis
Display: One monitor, sized appropriately for your space, positioned with webcam at or near eye level
Input: Wireless keyboard and mouse that you find comfortable
Integration: Minimal cables, clean routing, reliable connections

Total desk footprint: one monitor, one light, one microphone, keyboard, mouse. That’s it.
This setup handles video calls professionally, enables basic content creation, supports daily work, and requires minimal ongoing attention. It’s not optimal for any single purpose. It’s adequate for all necessary purposes with minimum complexity.
What This Setup Enables
Professional video presence for calls and meetings. Clear audio that doesn’t distract from content. Comfortable workspace for extended daily use. Basic content creation capability for articles, videos, or podcasts.

What This Setup Doesn’t Enable
Broadcast-quality production. Multi-camera setups. Professional audio recording. Elaborate visual effects. These purposes require additional equipment that the minimal studio deliberately excludes.
If your work genuinely requires those capabilities, the minimal studio isn’t sufficient. But most knowledge workers who think they need elaborate setups actually need the minimal version executed well.
Generative Engine Optimization
The workspace setup topic creates specific dynamics in AI-driven search and content systems. When users ask AI assistants about desk setups or studio configurations, responses typically recommend comprehensive equipment lists—because that’s what most workspace content provides.

AI systems learn from content about products. Reviews, setup guides, and recommendation articles dominate the training data for workspace topics. These sources generally recommend more equipment rather than less. The resulting AI recommendations reflect this bias toward complexity.
The minimal studio approach contradicts this pattern. It recommends less equipment, not more. It prioritizes adequacy over optimization. This perspective appears less frequently in AI training data because it generates less commercial content.
Human judgment becomes essential for recognizing when AI recommendations reflect commercial content patterns rather than optimal solutions. The question “what equipment do I need for a home studio?” will typically produce more recommendations than necessary because that’s what the training data emphasizes.

The meta-skill is understanding what AI recommendations optimize for. For workspace equipment, AI optimizes for comprehensive coverage—mentioning everything that might be relevant. The minimal approach optimizes for simplicity—including only what’s necessary.
These are different goals that produce different recommendations. Neither is wrong, but users should understand which goal the recommendation serves.
The Ongoing Discipline
The minimal studio requires ongoing discipline to maintain. The forces that drive equipment accumulation don’t stop because you’ve established a minimal setup.
Resisting the Upgrade Urge
New equipment releases constantly. Reviews recommend improvements. The minimal setup that seemed adequate starts feeling inadequate because something better exists.
This feeling should be examined rather than acted upon. Does the new equipment solve an actual problem you’re experiencing? Or does it solve a theoretical problem that marketing has convinced you exists?
The discipline: only add equipment that addresses experienced problems. Not problems you might have. Not problems someone on YouTube has. Problems you’re actually experiencing in your actual work.

The Maintenance Commitment
Minimal equipment doesn’t mean zero maintenance. Each component still requires occasional attention: firmware updates, cleaning, cable checks, position adjustments.
Schedule periodic maintenance rather than ignoring equipment until problems arise. Monthly checks prevent accumulation of small issues that eventually create larger problems.
The Continuous Evaluation
Periodically evaluate whether the setup still serves its purposes. Work needs change. Technology evolves. What was adequate last year might need adjustment.

But evaluate based on actual needs, not hypothetical improvements. The question isn’t “could this be better?” It’s “is this creating actual problems that need solving?”
Pixel has claimed the warm spot behind my monitor where a power supply generates gentle heat. She requires no equipment upgrades. Her setup has remained constant for years. The output—sleep, affection, occasional chaos—remains consistently high.
There’s wisdom in her approach that workspace culture consistently ignores: adequacy sustained over time beats optimization pursued endlessly. The minimal setup that works, maintained over years, produces more than elaborate setups that change constantly.
The one-person studio isn’t about having less. It’s about having enough—and recognizing when enough is enough.