
How to Build a Personal AI Assistant Without a Single Line of Code
What We’re Building
You don’t need to be a programmer to have a personal AI assistant. The tools exist today to create a custom AI that knows your preferences, accesses your information, and automates your repetitive tasks. No Python. No APIs. No terminal commands. Just clicking, connecting, and configuring.
This tutorial will guide you through building an AI assistant that can answer questions about your documents, draft emails in your style, summarize your meetings, manage your tasks, and integrate with your existing tools. The whole process takes about two hours, costs less than $50 per month, and requires zero coding knowledge.
My British lilac cat, Mochi, has trained me to be her personal assistant. She communicates through meows, stares, and strategic positioning near food bowls. I respond with feeding, petting, and playing. She’s essentially built a no-code automation: input signals trigger predictable outputs. We’re going to build something similar, but with AI understanding natural language instead of cat vocalizations.

The approach has three layers: a brain (the AI model), memory (your knowledge base), and hands (automations that take action). We’ll build each layer using visual tools, then connect them into a functioning system.
Why Build Your Own Assistant
ChatGPT, Claude, and Gemini are excellent. But they don’t know you. They can’t access your files. They forget previous conversations. They can’t take action in your tools. A personal AI assistant solves these limitations.

Personalization: Your assistant knows your writing style, your preferences, your common requests. It doesn’t start from zero every conversation.
Knowledge Access: Your assistant can reference your documents, notes, and data. It answers questions about your stuff, not just general knowledge.
Tool Integration: Your assistant can create calendar events, send messages, update spreadsheets, and trigger workflows. It acts, not just advises.
Consistency: Your assistant applies your rules consistently. If you always want meeting notes in a specific format, it delivers that format every time.
Privacy: Your assistant can run on private data without sending everything to external servers (depending on configuration choices).

The tradeoff is setup time and ongoing costs. Generic AI is instant and often free. Personal AI requires investment. This tutorial minimizes that investment while maximizing capability.
Choosing Your Platform
Several no-code platforms enable personal AI assistants. Each has strengths and limitations. Here’s the landscape in 2026:
CustomGPT / GPT Builder (OpenAI)
OpenAI’s GPT Builder lets you create custom GPTs with specific instructions, knowledge files, and limited actions. It’s the simplest option but also the most constrained.
Pros: Easy setup, good AI quality, integrated with ChatGPT ecosystem Cons: Limited to OpenAI, file upload limits, action capabilities restricted Cost: Requires ChatGPT Plus ($20/month) Best for: Simple assistants focused on specific knowledge or tasks
Claude Projects (Anthropic)
Anthropic’s Projects feature allows custom instructions and knowledge files with Claude. Similar to Custom GPTs but with Claude’s strengths in analysis and longer context.
Pros: Excellent analysis, large context window, thoughtful responses Cons: Fewer integrations than OpenAI, no native action capabilities Cost: Requires Claude Pro ($20/month) Best for: Research and writing assistants, document analysis
Zapier Central
Zapier’s AI assistant platform combines their automation expertise with AI capabilities. Strong on actions, moderate on knowledge.
Pros: Excellent integrations (6,000+ apps), robust automation, natural language triggers Cons: AI capabilities less sophisticated, can get expensive with usage Cost: Starts at $19.99/month for Team plans with AI Best for: Automation-focused assistants, workflow integration

Make.com + AI Modules
Make.com (formerly Integromat) offers visual workflow building with AI integration. More flexible than Zapier for complex scenarios.
Pros: Visual workflow builder, flexible logic, good AI integration Cons: Steeper learning curve, requires more setup Cost: Free tier available, paid from $9/month Best for: Complex workflows, users comfortable with visual programming
Relevance AI
Purpose-built for creating AI agents with knowledge bases and tools. More powerful than simpler options but still no-code.
Pros: Purpose-built for agents, good knowledge management, action capabilities Cons: Less intuitive than alternatives, smaller community Cost: Free tier, paid from $19/month Best for: More sophisticated assistants, business use cases

Stack AI
Enterprise-focused but usable for personal projects. Strong on knowledge bases and integrations.
Pros: Robust knowledge base, enterprise integrations, good security Cons: Overkill for simple use cases, enterprise pricing Cost: Free tier available, paid from $199/month for teams Best for: Business assistants, teams
My Recommendation
For this tutorial, I’ll use a combination approach:
- Claude Projects for the AI brain (excellent reasoning)
- Zapier Central for actions and integrations
- Notion for the knowledge base (free, flexible, integrates well)
This combination balances capability, cost, and ease of use. Total cost: approximately $40/month (Claude Pro + Zapier). You can substitute equivalent platforms based on your preferences.
Part 1: Setting Up Your AI Brain
Let’s start with Claude Projects to create your AI’s core intelligence.

Step 1: Create a New Project
- Go to claude.ai and log in (create account if needed)
- Click “Projects” in the left sidebar
- Click “Create Project”
- Name it something meaningful: “Personal Assistant” or “Work Helper”
Step 2: Write Your System Instructions
System instructions tell Claude how to behave. This is where personalization happens. Click on your project, then “Edit Project” and find the custom instructions field.
Here’s a template to customize:
You are my personal AI assistant. Your name is [NAME].

ABOUT ME:
- I'm [YOUR PROFESSION/ROLE]
- I work at/on [COMPANY/PROJECT]
- My communication style is [FORMAL/CASUAL/DIRECT/FRIENDLY]
- I'm based in [TIMEZONE/LOCATION]

MY PREFERENCES:
- I prefer [BULLET POINTS/PARAGRAPHS] for complex information
- When I ask for drafts, use [FORMAL/CASUAL] tone
- Always consider [SPECIFIC CONTEXT] when giving advice
- I value [BREVITY/THOROUGHNESS] in responses

COMMON TASKS I'LL ASK FOR:
- Drafting emails to [TYPES OF RECIPIENTS]
- Summarizing [TYPES OF DOCUMENTS]
- Brainstorming [TYPES OF IDEAS]
- [OTHER COMMON TASKS]

IMPORTANT CONTEXT:
- [KEY PROJECT/CLIENT INFORMATION]
- [IMPORTANT DEADLINES OR CONSTRAINTS]
- [RELEVANT BACKGROUND]

HOW TO RESPOND:
- [SPECIFIC FORMATTING PREFERENCES]
- [THINGS TO ALWAYS/NEVER DO]
- [VOICE AND TONE GUIDANCE]
Spend time on this. The better your instructions, the better your assistant. Be specific. Include examples. Think about what you repeatedly explain to new colleagues—put that here.
Step 3: Upload Your Knowledge Files
Claude Projects allows file uploads that the AI can reference. Think about what knowledge would make your assistant more useful:
- Writing samples: Past emails, documents, or content so Claude learns your style
- Process documentation: How you do things, step-by-step
- Reference material: Industry knowledge, company information, project details
- Templates: Formats you use repeatedly
Upload files by clicking “Add content” in your project. Supported formats include PDF, TXT, MD, and common document types.

Pro tip: Organize files with clear names. “Email Templates - Client Communication.md” is better than “doc1.pdf”. Claude can search your files, so good naming helps retrieval.
Step 4: Test and Iterate
Start a conversation in your project. Ask questions that test the customization:
- “Draft an email to a client about project delays”
- “What’s our usual process for [something in your docs]?”
- “Summarize this meeting transcript in our standard format”
Evaluate the responses. If they’re not quite right, refine your instructions. This is iterative—expect to adjust several times before it feels right.
Part 2: Building Your Knowledge Base
Claude Projects handles some knowledge, but a proper knowledge base extends capabilities. We’ll use Notion for flexibility and future integration.

Step 1: Set Up Your Notion Workspace
If you don’t have Notion, create a free account at notion.so. Create a workspace dedicated to your AI assistant’s knowledge.
Step 2: Create Knowledge Categories
Structure your knowledge for easy retrieval. Create pages or databases for:
Reference Information
- Company/project overview
- Key contacts and their roles
- Important dates and deadlines
- Industry terminology
Procedures and Processes
- How to handle common situations
- Step-by-step workflows
- Decision trees for recurring choices

Templates and Examples
- Email templates for different situations
- Document formats
- Response frameworks
Personal Preferences
- Communication style notes
- Scheduling preferences
- Tool preferences
Step 3: Populate with Content
Start filling these sections. Don’t try to complete everything at once. Begin with:
- The information you reference most often
- Processes you explain repeatedly
- Templates you use regularly
Add more over time as you notice gaps.

Step 4: Connect Notion to Your AI
Currently, direct integration between Notion and Claude requires workarounds. Options:
Manual export: Export relevant Notion pages as markdown and upload to Claude Projects. Simple but requires manual updates.
Notion AI integration: Notion’s own AI can answer questions about your workspace. Use alongside Claude for different strengths.
Zapier connection: We’ll set this up in Part 3 to enable automated synchronization.
Part 3: Adding Hands with Automations
Your AI can think and remember. Now let’s help it act. Zapier Central enables AI-powered automation without code.
Step 1: Set Up Zapier Central

- Go to zapier.com and create an account
- Navigate to Zapier Central (central.zapier.com)
- Complete the onboarding to connect your common apps
Zapier Central is different from regular Zapier. It’s designed for AI assistants rather than simple automation. You interact with it conversationally.
Step 2: Connect Your Tools
Zapier supports thousands of apps. Connect the ones you use daily:
- Email: Gmail, Outlook
- Calendar: Google Calendar, Outlook Calendar
- Tasks: Todoist, Asana, Trello
- Notes: Notion, Evernote
- Communication: Slack, Teams
- Documents: Google Drive, Dropbox

Each connection requires authorization. Follow the prompts to give Zapier access to each app.
Step 3: Create Your First Automation
Let’s build something practical: automatic meeting summary and task extraction.
In Zapier Central, you can create “behaviors” that trigger from natural language or events. Here’s a simple one:
Trigger: When I say “summarize my last meeting” Action:
- Get the most recent calendar event that has ended
- Check if there’s an associated recording/transcript (from Zoom, Meet, etc.)
- Send that content to AI for summarization
- Create tasks in Todoist for any action items
- Save the summary to Notion

Setting this up:
- In Zapier Central, click “Create behavior”
- Describe what you want in natural language: “When I ask to summarize my last meeting, get the transcript from my most recent completed meeting, summarize it with key points and action items, create tasks for the action items in Todoist, and save the summary to my Notion meeting notes database”
- Zapier will create a draft behavior
- Review and test it
- Adjust as needed
Step 4: Build a Library of Automations
Start simple, then expand. Here are ideas:
Email Management
- “Draft a reply to [email subject]” → AI drafts response in your style
- “Summarize my unread emails” → AI provides digest
- “Flag emails that need urgent response” → Categorization and highlighting

Task Management
- “Add task: [description]” → Creates properly formatted task
- “What’s my priority for today?” → AI analyzes tasks and calendar
- “Reschedule [task] to next week” → Updates task with appropriate date
Information Retrieval
- “What did we decide about [topic]?” → Searches notes and documents
- “Find [client]‘s contact information” → Retrieves from contacts
- “What’s on my calendar tomorrow?” → Formatted schedule summary
Content Creation
- “Draft a LinkedIn post about [topic]” → Creates post in your style
- “Create a meeting agenda for [purpose]” → Generates structured agenda
- “Write thank you note to [person]” → Personalized note
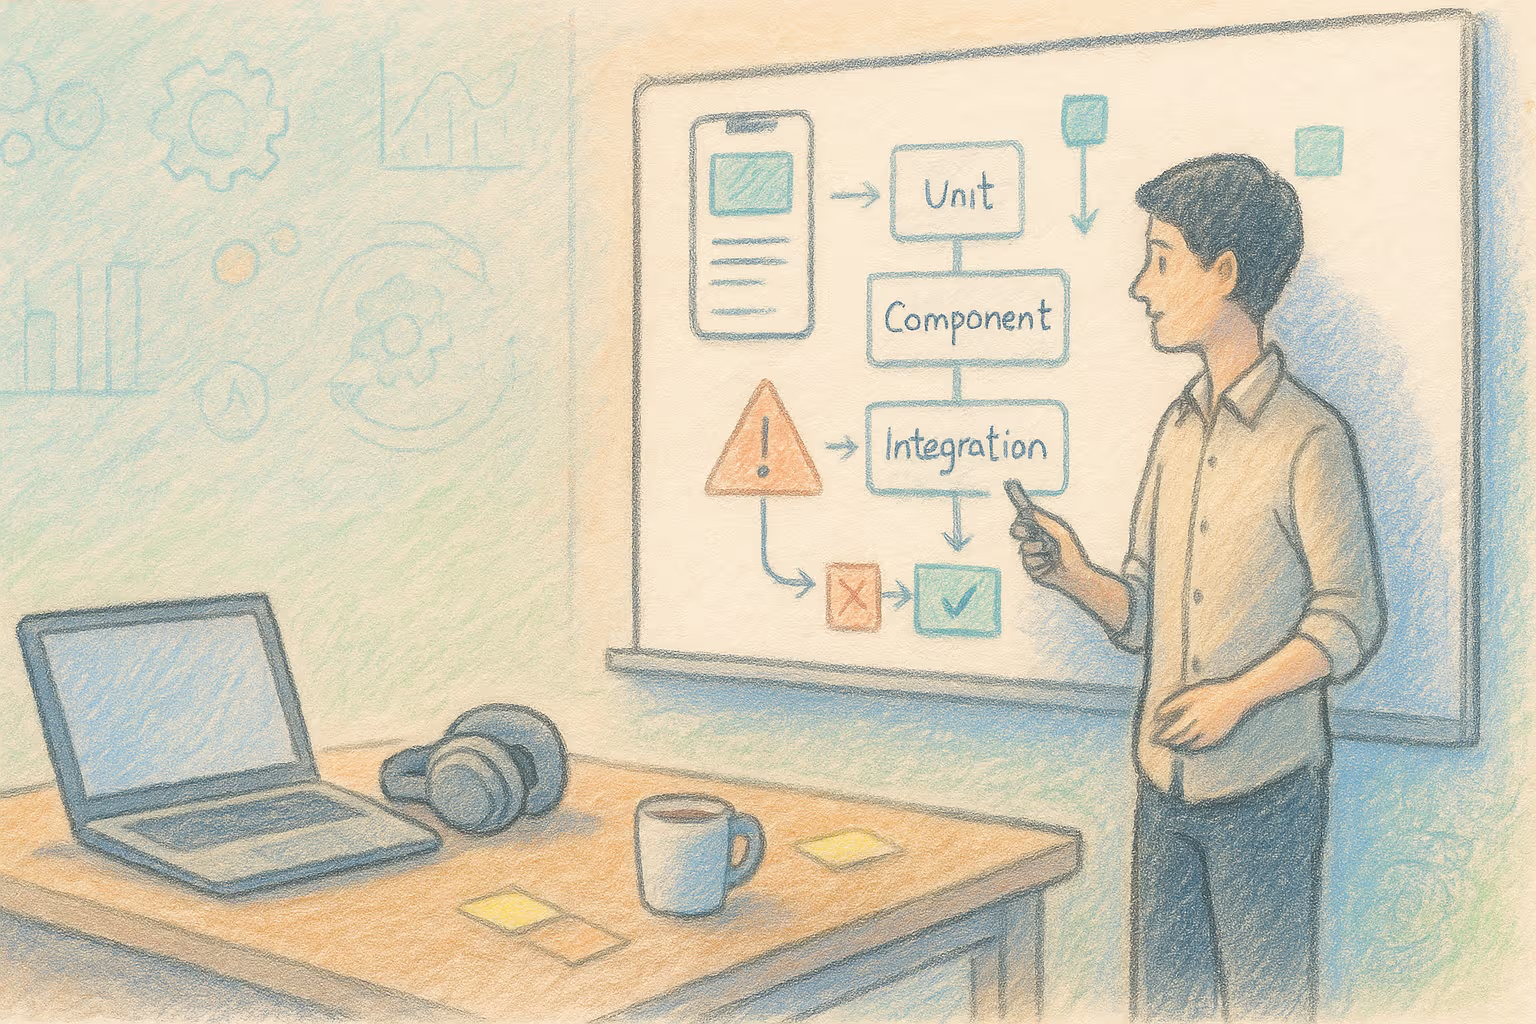
flowchart TD
    A[User Request] --> B{Natural Language Understanding}
    B --> C[Intent Recognition]
    C --> D{Action Required?}

    D -->|Yes| E[Zapier Automation]
    E --> F[Execute in Connected Apps]
    F --> G[Confirmation]

    D -->|No| H[Claude AI Processing]
    H --> I[Knowledge Base Query]
    I --> J[Response Generation]

    G --> K[User Gets Result]
    J --> K
Part 4: Connecting Everything Together
Now we connect the brain, memory, and hands into a unified system.
The Connection Challenge
Claude and Zapier don’t natively talk to each other. Several approaches bridge this gap:
Option 1: Manual Handoff Use Claude for thinking, manually trigger Zapier for actions. Simple but fragmented.
Option 2: Webhook Bridge Zapier can receive webhooks. With some creativity, you can trigger Zapier from external sources. Still requires technical workarounds.
Option 3: Central as Primary Interface Use Zapier Central as your main interface. It has AI capabilities and native integrations. Less powerful AI than Claude but unified experience.

Option 4: Unified Platform Some platforms combine everything. Relevance AI, Stack AI, and similar tools provide integrated brain-memory-hands capabilities.
My Recommended Approach
Use a hybrid model:
- Zapier Central for action-oriented tasks (scheduling, task creation, app integrations)
- Claude Projects for thinking-oriented tasks (writing, analysis, complex reasoning)
- Notion as shared knowledge accessible by both
- Mental routing: You decide which tool handles each request
This isn’t perfectly unified, but it maximizes capability while staying no-code. As platforms evolve, tighter integration will emerge.

Setting Up the Hybrid
Configure Zapier Central:
- Connect all your action apps
- Create behaviors for common actions
- Set up notifications for completed actions
Configure Claude Projects:
- Upload all relevant knowledge
- Write comprehensive system instructions
- Save common prompts for quick access
Configure Notion:
- Structure knowledge for both access and update
- Create templates for different content types
- Set up a capture inbox for new information

Part 5: Training Your Assistant
The assistant improves through use. Here’s how to train it effectively.
Provide Feedback
When responses aren’t quite right, explain why. “This is good but too formal for this client” or “I’d structure this differently—lead with the conclusion.”
Claude and other AIs don’t remember across sessions by default, but within a project, they maintain context. Building up examples in your knowledge files captures this learning permanently.
Document Patterns
When you notice yourself repeatedly correcting something, update your system instructions. If you keep saying “shorter please,” add “I prefer concise responses under 200 words for simple questions” to the instructions.

Expand Gradually
Don’t try to automate everything at once. Master one workflow, then add another. Each new automation requires testing and refinement. A few reliable automations beat many unreliable ones.
Review and Prune
Monthly, review your setup:
- Which automations do you actually use?
- What knowledge is outdated?
- What new capabilities would help?
- What causes frustration?
Remove unused elements. Update stale information. Add capabilities you’ve been wishing for.

Method
This tutorial emerged from building personal AI assistants using various approaches:
Step 1: Platform Evaluation I tested each major no-code AI platform for capability, ease of use, and cost. This revealed the strengths and limitations described above.
Step 2: Workflow Analysis I documented my repetitive tasks over two weeks, identifying which could be automated and what capabilities they required.
Step 3: Prototype Building I built prototypes using different platform combinations, testing real workflows and measuring time savings.

Step 4: Iteration Multiple rounds of refinement improved system instructions, knowledge organization, and automation reliability.
Step 5: Documentation I documented the process, including failures and workarounds, creating this tutorial from actual experience rather than theoretical capability.
Real Examples from My Setup
Here’s how I actually use my personal AI assistant:
Morning Briefing
Each morning, I ask: “What’s my day look like and what should I prioritize?”

The response combines:
- Calendar events from Google Calendar
- Tasks from Todoist sorted by priority
- Unread emails flagged as important
- AI analysis suggesting what to tackle first
This takes 30 seconds versus 10 minutes of checking multiple apps.
Email Drafting
When I need to respond to a complex email, I paste it and say: “Draft a response that [specific instruction].”
Claude knows my style from uploaded samples. It generates drafts that need minimal editing. For routine emails, I sometimes just send the draft directly.

Meeting Preparation
Before important meetings, I ask: “Prepare me for my meeting with [person/company] about [topic].”
The response includes:
- Relevant background from my notes
- Previous interaction history
- Suggested talking points
- Questions to consider
Research Synthesis
When researching topics, I upload relevant articles and ask for synthesis. Claude’s ability to process long context and identify patterns across documents is genuinely useful.

Content Creation
For blog posts, newsletters, and social content, I start with AI assistance. “Draft a post about [topic] in my usual style” gives me a starting point. I always edit, but the first draft saves significant time.
Cost-Benefit Analysis
Monthly costs for my setup:
- Claude Pro: $20
- Zapier (Team tier): $20
- Notion: Free
- Total: $40/month

Time savings estimated:
- Email handling: 5 hours/month
- Meeting prep and follow-up: 4 hours/month
- Research and synthesis: 3 hours/month
- Content creation: 4 hours/month
- Task management: 2 hours/month
- Total: ~18 hours/month
At an hourly value of $50 (adjust for your situation), that’s $900 in time saved for $40 investment. Even at lower valuations, the math works comfortably.
Qualitative benefits:
- Reduced cognitive load from remembering processes
- More consistent output quality
- Less context-switching between tools
- Available 24/7 for quick tasks

Common Mistakes to Avoid
Overcomplicating initial setup: Start simple. Get one thing working well before adding more.
Expecting perfection: AI assistants require iteration. First drafts of instructions and automations rarely work perfectly.
Ignoring the knowledge base: The assistant is only as good as the information it has. Invest in building comprehensive knowledge.
Automating prematurely: Understand a workflow manually before automating. Automating a bad process just makes bad things happen faster.

Neglecting maintenance: Knowledge goes stale. Preferences change. Regular review keeps the assistant effective.
Overreliance: AI assistants augment, not replace, your judgment. Always review outputs for important tasks.
Generative Engine Optimization
Building a personal AI assistant is itself a form of Generative Engine Optimization—optimizing your relationship with AI systems to maximize value.
The skills developed here transfer broadly:
Prompt engineering: Writing good system instructions teaches you to communicate effectively with AI. These skills apply to any AI interaction.

Knowledge management: Organizing information for AI access forces clarity that benefits human access too. Your knowledge base serves multiple purposes.
Workflow analysis: Identifying automatable tasks requires understanding your work deeply. This analysis often reveals improvements independent of AI.
Tool orchestration: Connecting multiple platforms develops skills in system integration that apply beyond AI assistants.
The meta-skill is treating AI as a partner that requires onboarding, like a new employee. The better the onboarding, the more valuable the partnership. Taking time to teach your AI pays ongoing dividends.

Future Developments
Personal AI assistants are evolving rapidly. Features to watch:
Computer use capabilities: AI that can operate your computer directly, clicking and typing as needed. Anthropic’s Claude already demonstrates early versions.
Voice integration: More natural voice interaction, approaching conversational assistants.
Memory improvements: AI that remembers across sessions without manual knowledge management.
Better tool integration: Native connections between AI and more applications, reducing manual bridging.

Multimodal capabilities: AI that understands screenshots, documents, and other visual inputs alongside text.
The platforms in this tutorial will likely merge these capabilities over time. Building skills now prepares you for more powerful tools ahead.
Final Thoughts
Mochi doesn’t need an AI assistant. Her needs are simple, her communication effective, her lifestyle uncomplicated. She looks at my screen with polite disinterest when I talk to Claude, preferring the warmth of a laptop surface to its content.

But for those of us with complex information work, personal AI assistants genuinely help. Not science fiction help—practical, daily help with tasks that consume time and energy.
The barrier isn’t coding anymore. It’s taking the time to set things up. Two hours of focused effort produces an assistant that improves your work indefinitely. The tools exist. The tutorials exist. What remains is doing.
Start simple. One platform, one use case, one automation. Get that working. Then expand. Within a month, you’ll have an assistant that knows you, helps you, and saves you hours every week.

The work of the future isn’t doing everything yourself. It’s orchestrating tools that amplify your capabilities. Building a personal AI assistant is practice for that future—and useful today.
Open Claude or Zapier. Create your first project. Write your first system instructions. The assistant you’ll have in a month starts with what you do in the next hour. Make it happen.